How to Remove a Background From a Video (It’s Easy With AI)
Last Updated:
2026-06-09
How to Remove a Background From a Video (It’s Easy With AI)
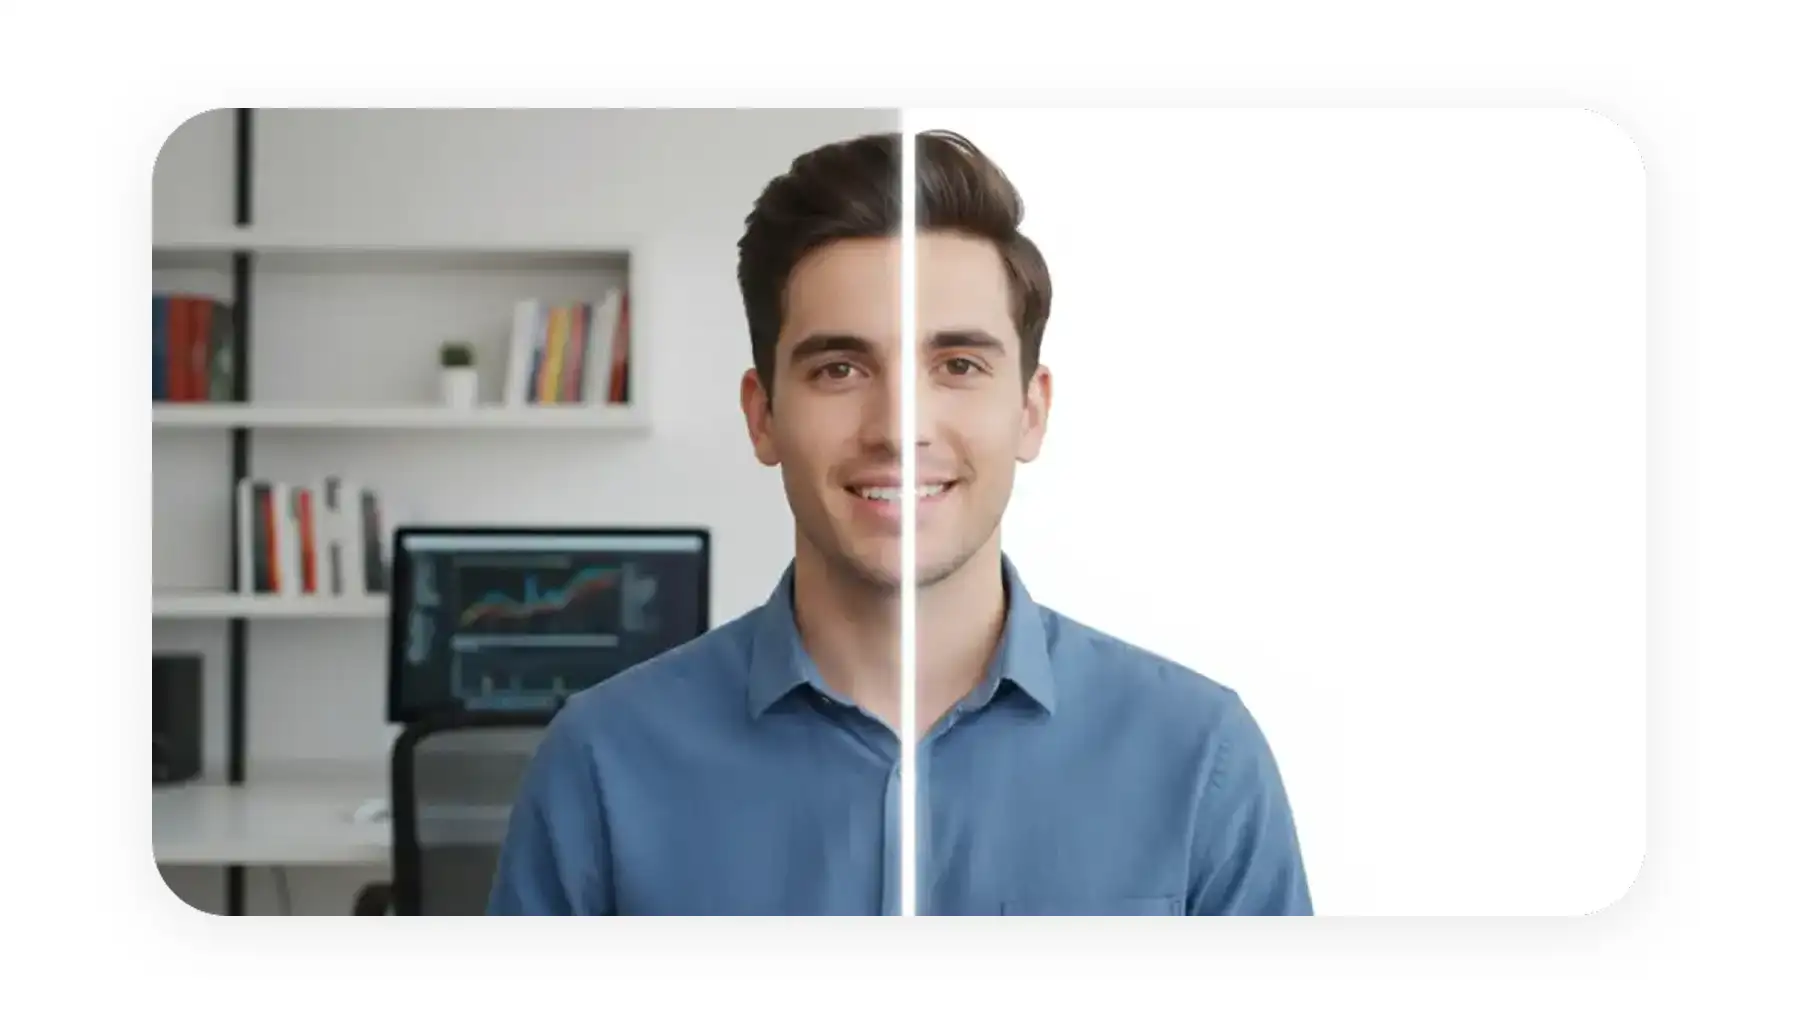
Removing backgrounds from videos has traditionally been a time-consuming process. It often required painstaking manual work in compositing — separating layers by hand — and using special filming techniques like green screens and blue screens.
Since we frequently need to remove backgrounds for things like product demos, talking-head videos, and presentations, it’s always been a major time sink.
In this article, we’ll explore two main ways to remove video backgrounds:
AI-powered methods — the modern approach
Manual techniques — how it used to be done
We’ll also cover when to use each one, so let’s dive in!
AI-powered video background removal now delivers professional results without green screens, expensive equipment, or specialized compositing skills.
Overchat AI's free online Video Background Remover handles the job in three steps — upload, click "Remove Background," download — supporting MP4, WebM, MOV, and AVI files up to 200MB with no installation required.
Adobe Premiere Pro is the go-to for precise manual control, using the Ultra Key effect for green/blue screen footage or Pen tool masking with keyframes for non-solid backgrounds.
Footage quality is the single biggest factor in clean results — even lighting, subject-background separation of at least 6 feet, high resolution, and stable framing all reduce cleanup time later.
Watch for color spill on hair, skin, and reflective surfaces; keep green objects and clothing out of frame when using a green screen.
Use AI tools for everyday videos like talking heads, product demos, and tutorials where speed matters and green screens aren't available.
Use manual masking in Premiere Pro when you need pixel-perfect accuracy, have complex multi-subject scenes, or are working on high-budget productions.
The best workflow often combines both — AI for the initial pass, then manual touch-ups on problem areas in a video editor.
Why Remove a Video Background?
For product videos. Clean, consistent backdrops are key for product videos — they help highlight the product’s features and maintain a polished look. This is often done by filming against a solid background and then digitally replacing it. Using consistent backgrounds across videos also reinforces your brand identity.
For social media. A professional-looking background makes talking-head videos stand out, while custom backdrops can add personality to tutorials and demos. You can even repurpose existing footage by swapping backgrounds to match new themes, campaigns, or trends.
For presentations. Clean digital backdrops help students or audiences focus on the content instead of visual distractions. With background removal, you can overlay presenters onto slides or charts, making educational and corporate presentations much more engaging.
For special effects. Background removal is essential for layering subjects over other footage, creating picture-in-picture effects, or transporting people into virtual environments.
In the past, achieving any of these effects required careful planning, expensive equipment, and green screens. Today, thanks to new AI tools, you can get professional-looking results without all that hassle.
No matter which background removal tool you use, it all starts the same way — by getting your footage ready. So let’s talk about that.
Preparing Your Footage
The quality of your original footage matters. It directly impacts how well background removal works. Here's what you need to know before you start.
Good, even lighting on your subject makes AI tools work better and gives cleaner results. Avoid harsh shadows or dramatic lighting that creates strong contrasts — these can confuse automated tools and create rough edges.
Keep distance from the background. Position your subject at least a few feet away from whatever's behind them. This separation prevents color spill (where background colors reflect onto your subject) and makes it easier for AI to distinguish between foreground and background.
Consider your background type. If you're planning to use manual tools or green screen techniques, solid-colored backgrounds work best. Green and blue are traditional choices because they contrast with most skin tones. But if you're using modern AI tools, any background works — the AI can handle complexity that would have been impossible to remove manually just a few years ago.
Use high-quality footage. Higher resolution gives you more detail to work with, which means cleaner edges and better results. Shaky footage is harder to process, so use a tripod or stabilizer when possible. If your video is blurry or low-resolution, even the best tools will struggle.
The better your source footage, the less cleanup you'll need later — so it's worth spending a few extra minutes on setup.
How to Remove the Background in Overchat AI
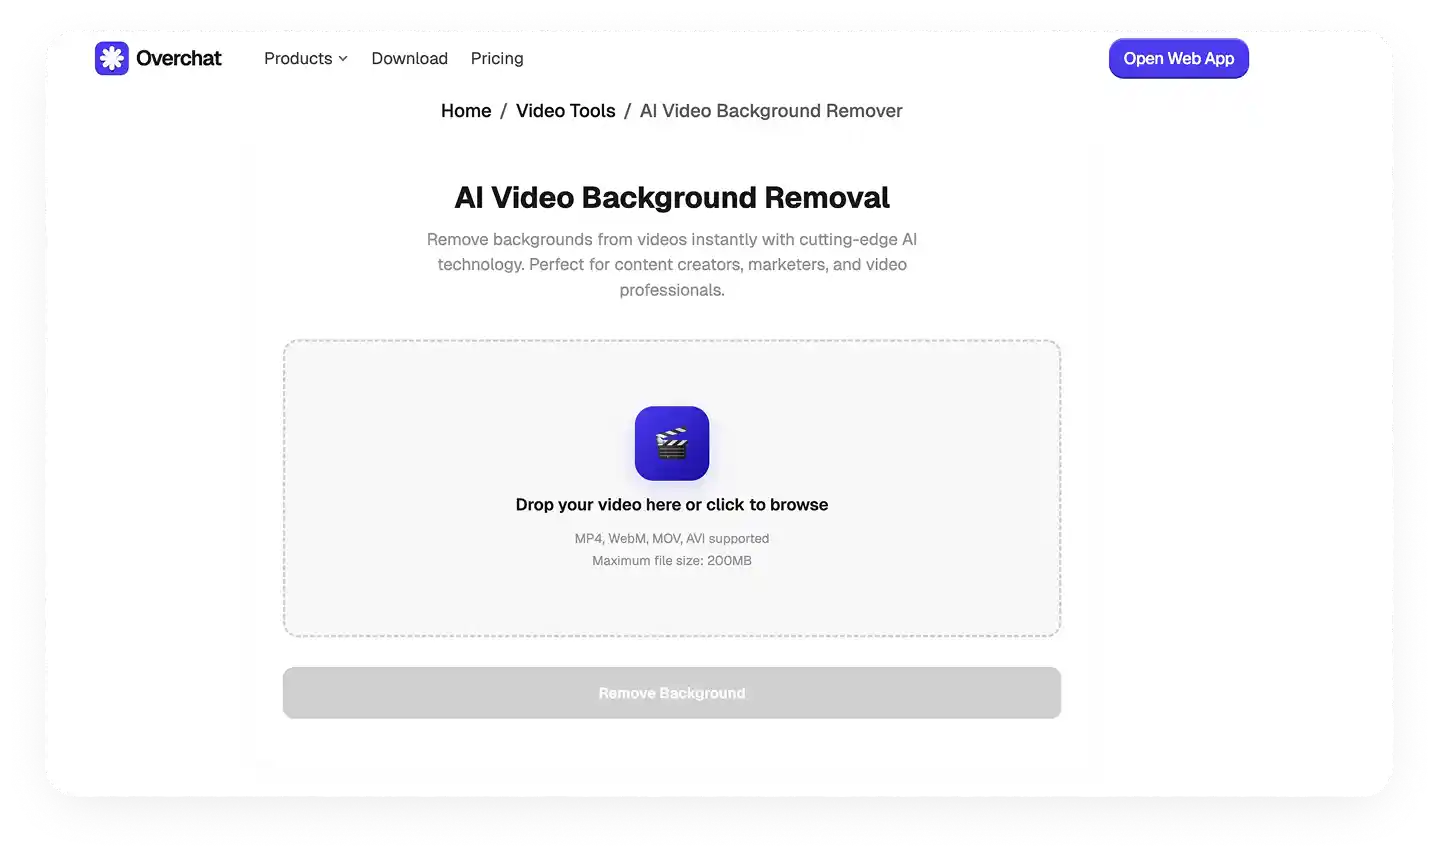
Overchat AI is a free online video background remover that offers the fastest way to remove video backgrounds. Here’s how to use it:
Drag and drop your video file directly onto the upload area, or click to browse your files.
The tool supports MP4, WebM, MOV, and AVI formats up to 200MB. No installation required — everything happens in your browser.
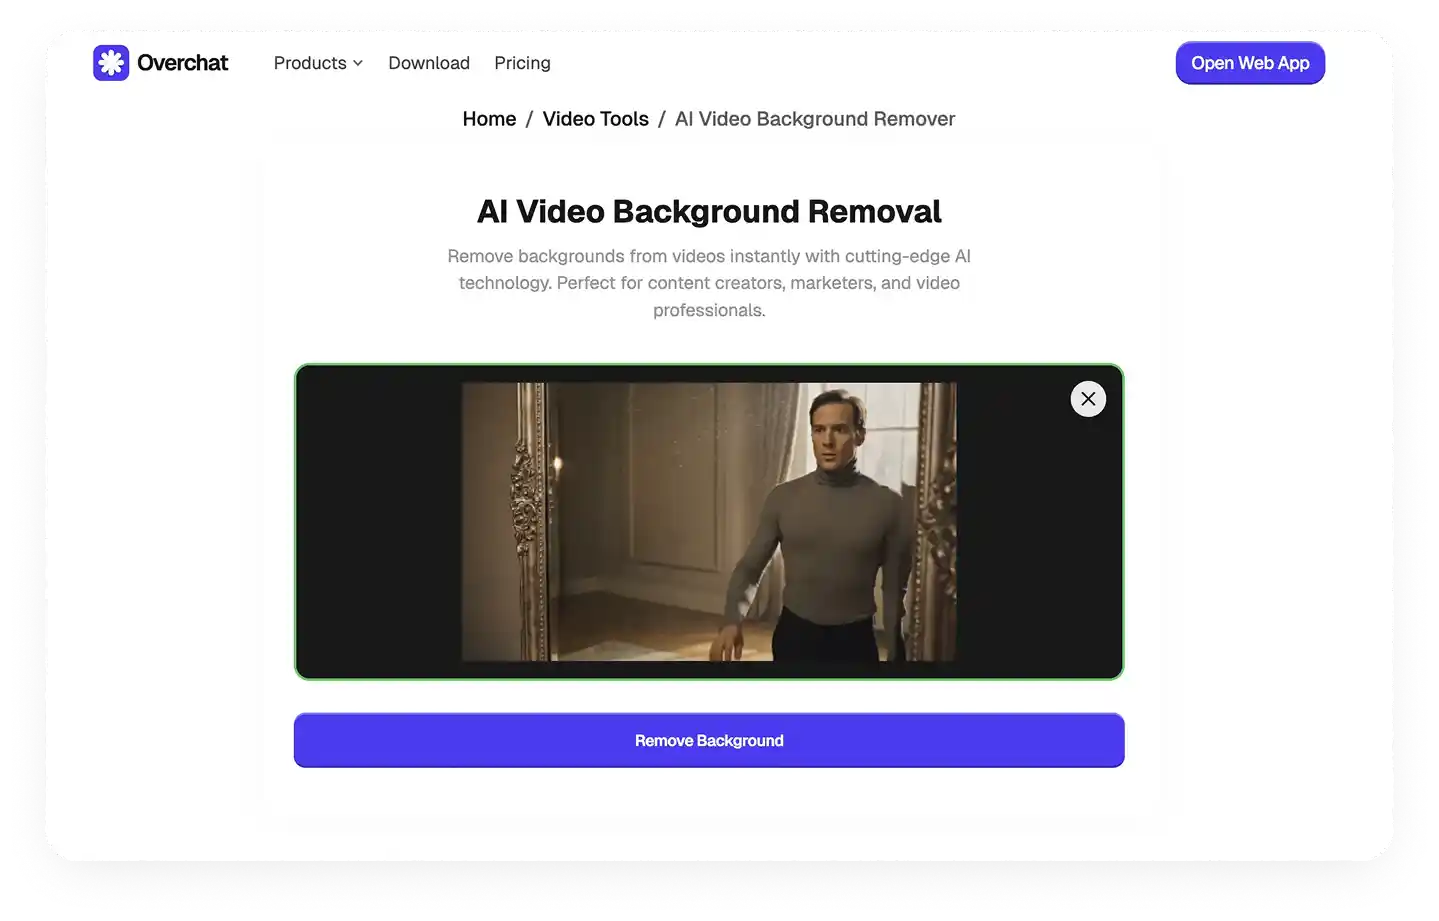
2. Remove The Background in One Click
Once your video uploads, click the Remove Background button.
The AI will process your footage automatically, detecting your subject and removing everything behind it. This usually takes just a few seconds, depending on video length.
3. Download the Result
When processing finishes, preview your video with the transparent background. If you're satisfied with the result, click the download button to save your video.
That's it — just three simple steps.
How to Remove the Background in Premiere Pro
Adobe Premiere Pro gives you precise control over background removal, though it requires more manual work than AI tools. Here's how it works:
1. Import Your Footage and Create a Sequence
Launch Premiere Pro and create a new project
Import your video by pressing Ctrl+I (Windows) or Cmd+I (Mac), or drag the file directly into the Project panel.
Drag your video clip onto the timeline to create a sequence. If prompted, match the sequence settings to your clip's properties for optimal quality.
2. Use a Chroma Key Tool (for Green or Blue Backgrounds)
If you filmed against a green or blue screen, the Ultra Key effect makes removal straightforward. Search for "Ultra Key" in the Effects panel and drag it onto your timeline clip.
Open the Effect Controls panel
Use the eyedropper tool to select the background color in your video
Premiere Pro removes that color automatically
Fine-tune the removal by adjusting Matte Generation settings like Tolerance, Highlight, and Shadow
Use Matte Cleanup options (Choke and Soften) to refine edges, and enable Spill Suppression to remove any color tint reflected onto your subject.
3. Mask and Track for Non-Solid Backgrounds
For videos without green screens, you'll need manual masking.
Select your clip and go to the Effect Controls panel. Under Opacity, use the Pen tool to draw a mask around your subject.
Adjust the Feather slider to soften mask edges and make the cutout look natural. If your subject moves, enable keyframes for the mask path and adjust the mask at key intervals throughout the clip to follow the movement.
This method takes significantly more time but works with any background.
Step 4: Replace the background
Import your new background (image or video) and place it on a layer below your subject clip in the timeline. Extend it to match your video's duration.
Step 5: Final adjustments (edge cleanup, color matching)
Open the Lumetri Color panel and adjust your subject's brightness, contrast, and color to match the new background. Mismatched colors make the composite look fake.
Refine rough edges using Edge Feather in the Ultra Key settings or by adjusting your mask's feather. Add a subtle blur to the background layer to simulate depth of field and make your subject stand out.
Step 6: Export the final video
Preview your video in the timeline to check alignment and quality. Go to File > Export > Media when you're satisfied.
Choose H.264 format for web use or select a preset that matches your needs. Verify resolution, frame rate, and quality settings, then click Export.
The manual approach in Premiere Pro offers maximum control, but it's time-intensive compared to AI solutions.
Tips and Best Practices
Getting clean background removal takes more than just good software. Here are the techniques that make the biggest difference.
Light Your Subject and Background Separately
Position lights to illuminate your subject evenly, then add separate lighting for the background. This separation prevents shadows from your subject falling onto the background, which can create dark spots that tools struggle to remove.
Avoid placing your subject too close to the background — at least 6 feet of distance prevents color spill and shadow issues.
Watch for Color Spill and Edge Quality
Color spill happens when your background color reflects onto your subject. It's most noticeable on hair, skin, and reflective surfaces. If you're using a green screen, keep green objects out of frame and avoid green clothing.
After removal, zoom in and check edges carefully. Rough or pixelated edges look unprofessional. Use edge refinement tools to smooth them out, or apply a subtle feather to blend your subject naturally into new backgrounds.
Start with High-Quality Footage
Shoot at the highest resolution your camera supports. More pixels mean cleaner edges and more detail preserved during background removal. A 4K source will always give better results than 1080p, even if your final output is lower resolution.
Use a Tripod or Gimbal
Shaky footage is harder to process, especially with manual tools. Stable framing lets AI track your subject more accurately and reduces the need for frame-by-frame adjustments.
When to Use Manual vs Automatic Tools
AI tools work best for most everyday videos — talking heads, product demos, tutorials. They're fast, require no technical skills, and handle movement well. Use them when speed matters or when you don't have green screen footage.
Manual masking in software like Premiere Pro is worth the extra time when you need pixel-perfect accuracy, have complex scenes with multiple subjects, or are working on high-budget productions where quality matters more than speed.
For green screen footage, chroma key tools split the difference — they're faster than manual masking but more reliable than AI for challenging lighting situations.
The best approach often combines methods.
Use AI for the initial removal
Touch up problem areas manually in your video editor
Bottom Line
In 2025 and 2026, background removal has become much easier thanks to AI-powered tools. You no longer need to be a professional compositor to remove backgrounds from your videos. To get started, just use an AI tool — it’s more than enough for most projects and doesn’t require any special skills.
For more challenging clips, though, you may still need to use manual background removal in software like Premiere Pro.
Whichever method you choose, it always helps to start with well-lit, high-quality footage — no tool can fully fix poor lighting or bad source material. Hopefully, you found this article helpful. Thanks for reading, and we’ll see you in the next one!