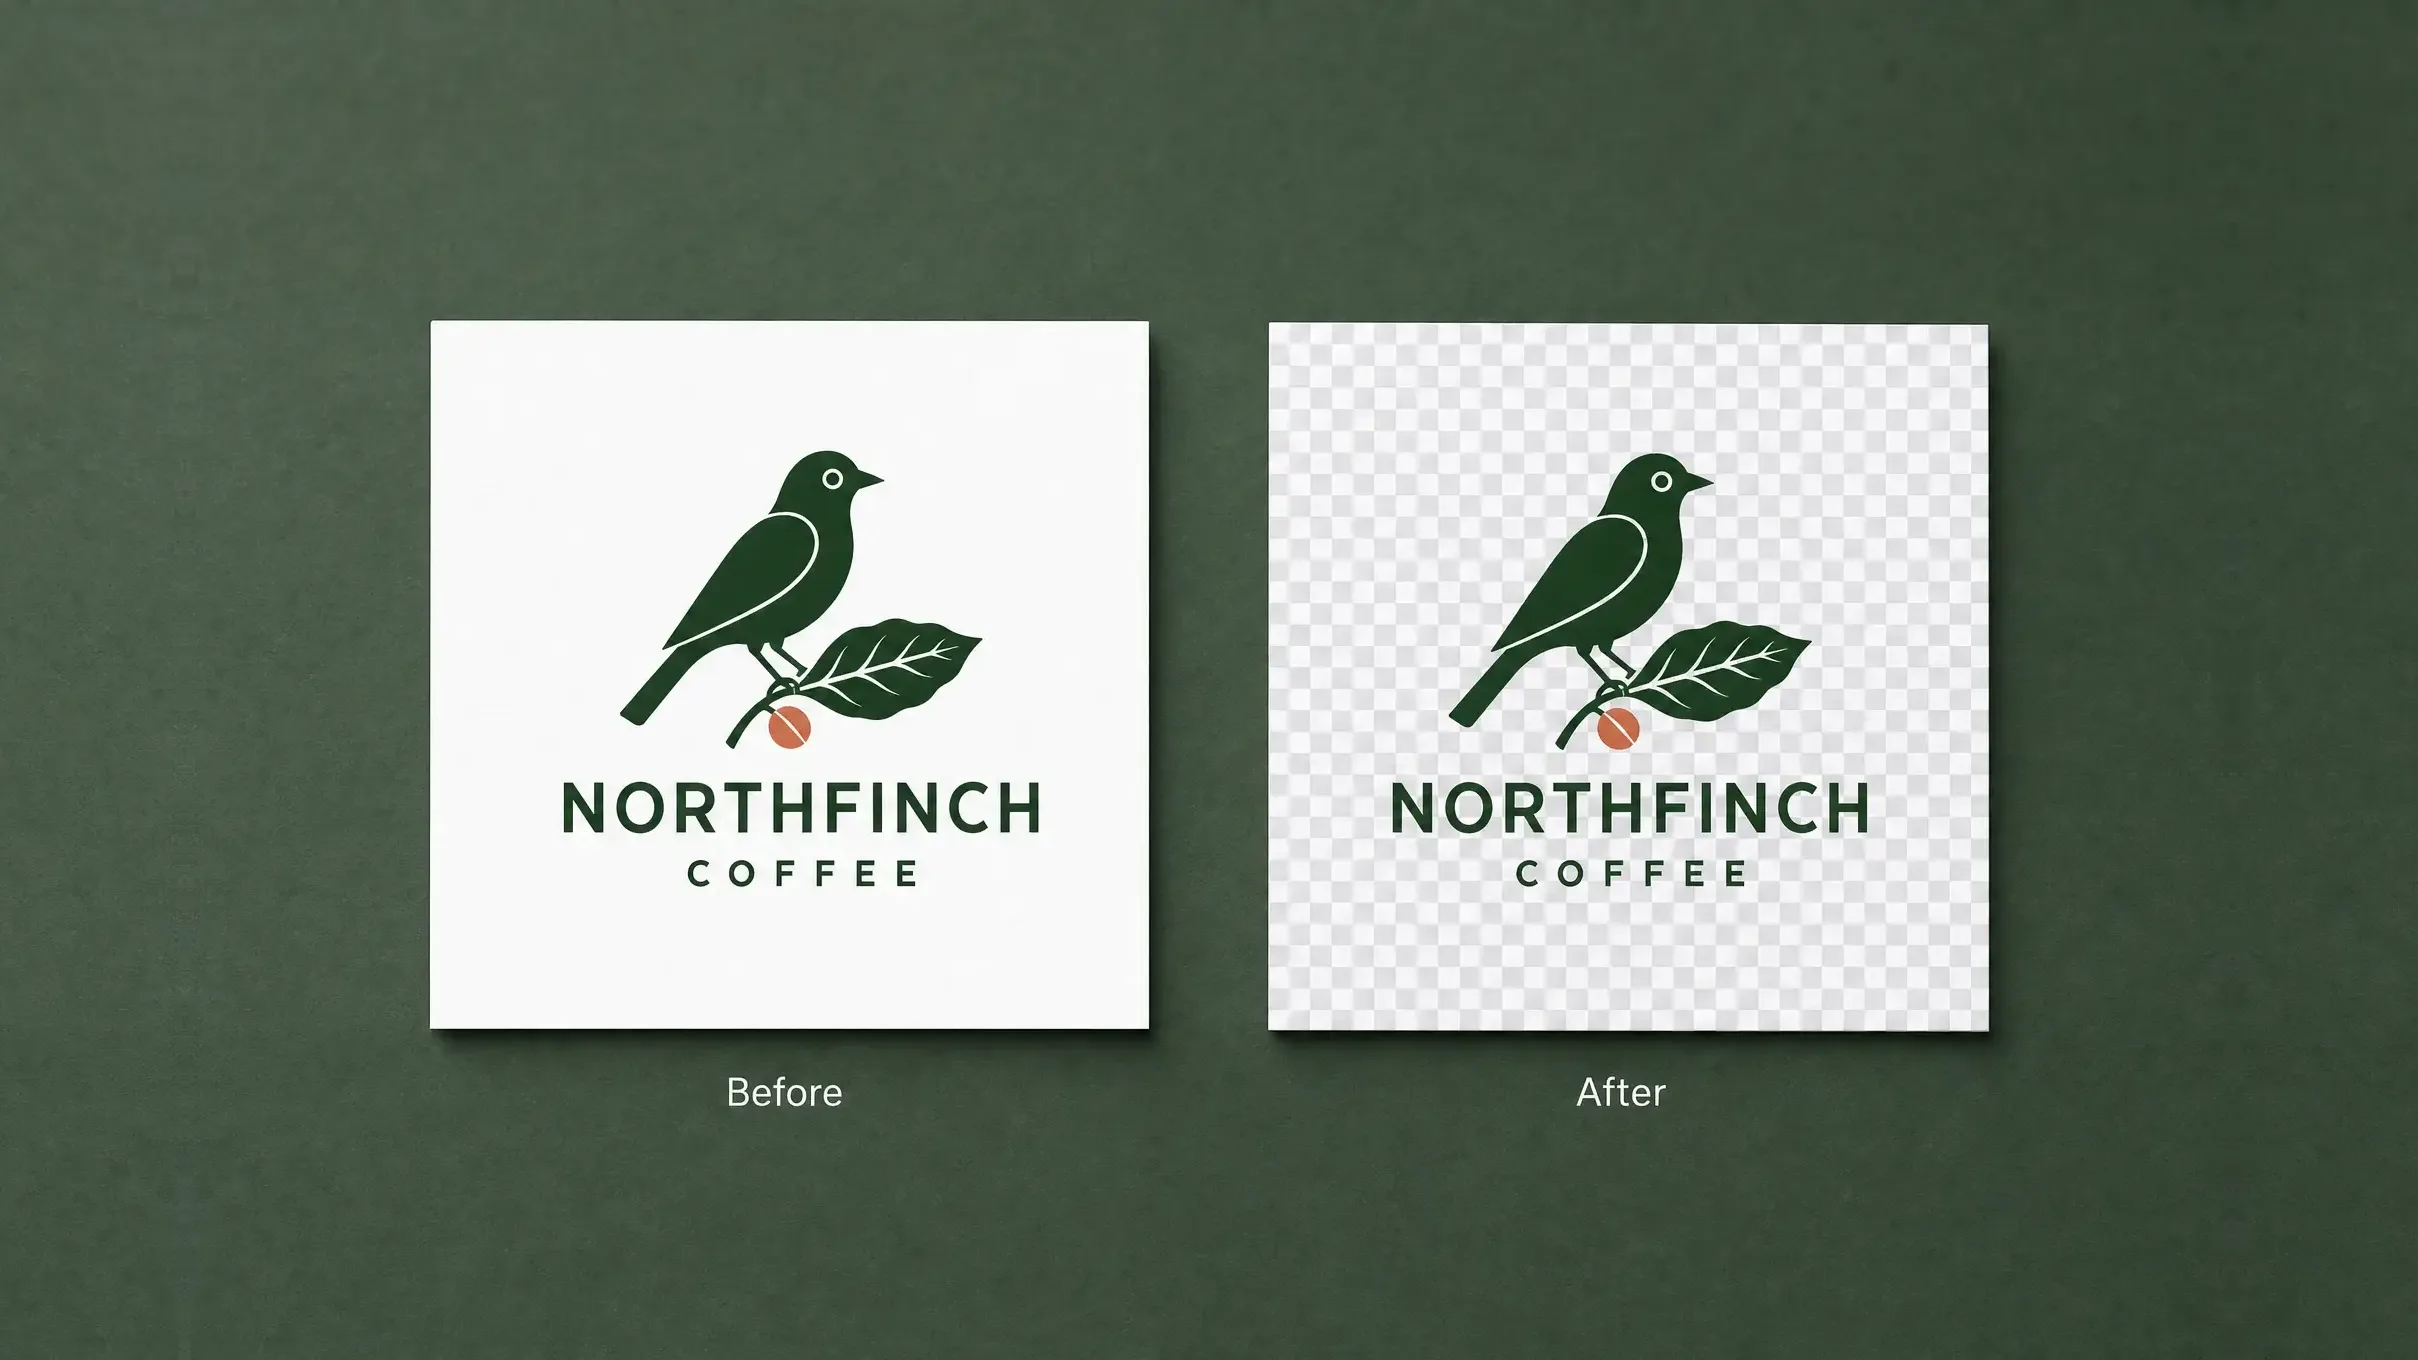
You can easily make a logo transparent by removing the background in an online tool. In this article we'll explain how to prepare the logo file to get the best result with transparency, how to catch white outlines and missing details, and whether your finished logo should be a PNG, SVG, or WebP.
Quick answer: To make a logo transparent without Photoshop, you can use an online background removal tool that automatically detects the edges, makes a mask around the logo, removes the background and adds a transparent alpha channel, giving you a PNG file.
How to make a logo transparent with Overchat AI
The Overchat AI PNG Maker is an online tool we've built that can take any image and make it transparent within 30 seconds. Here's how to use it:
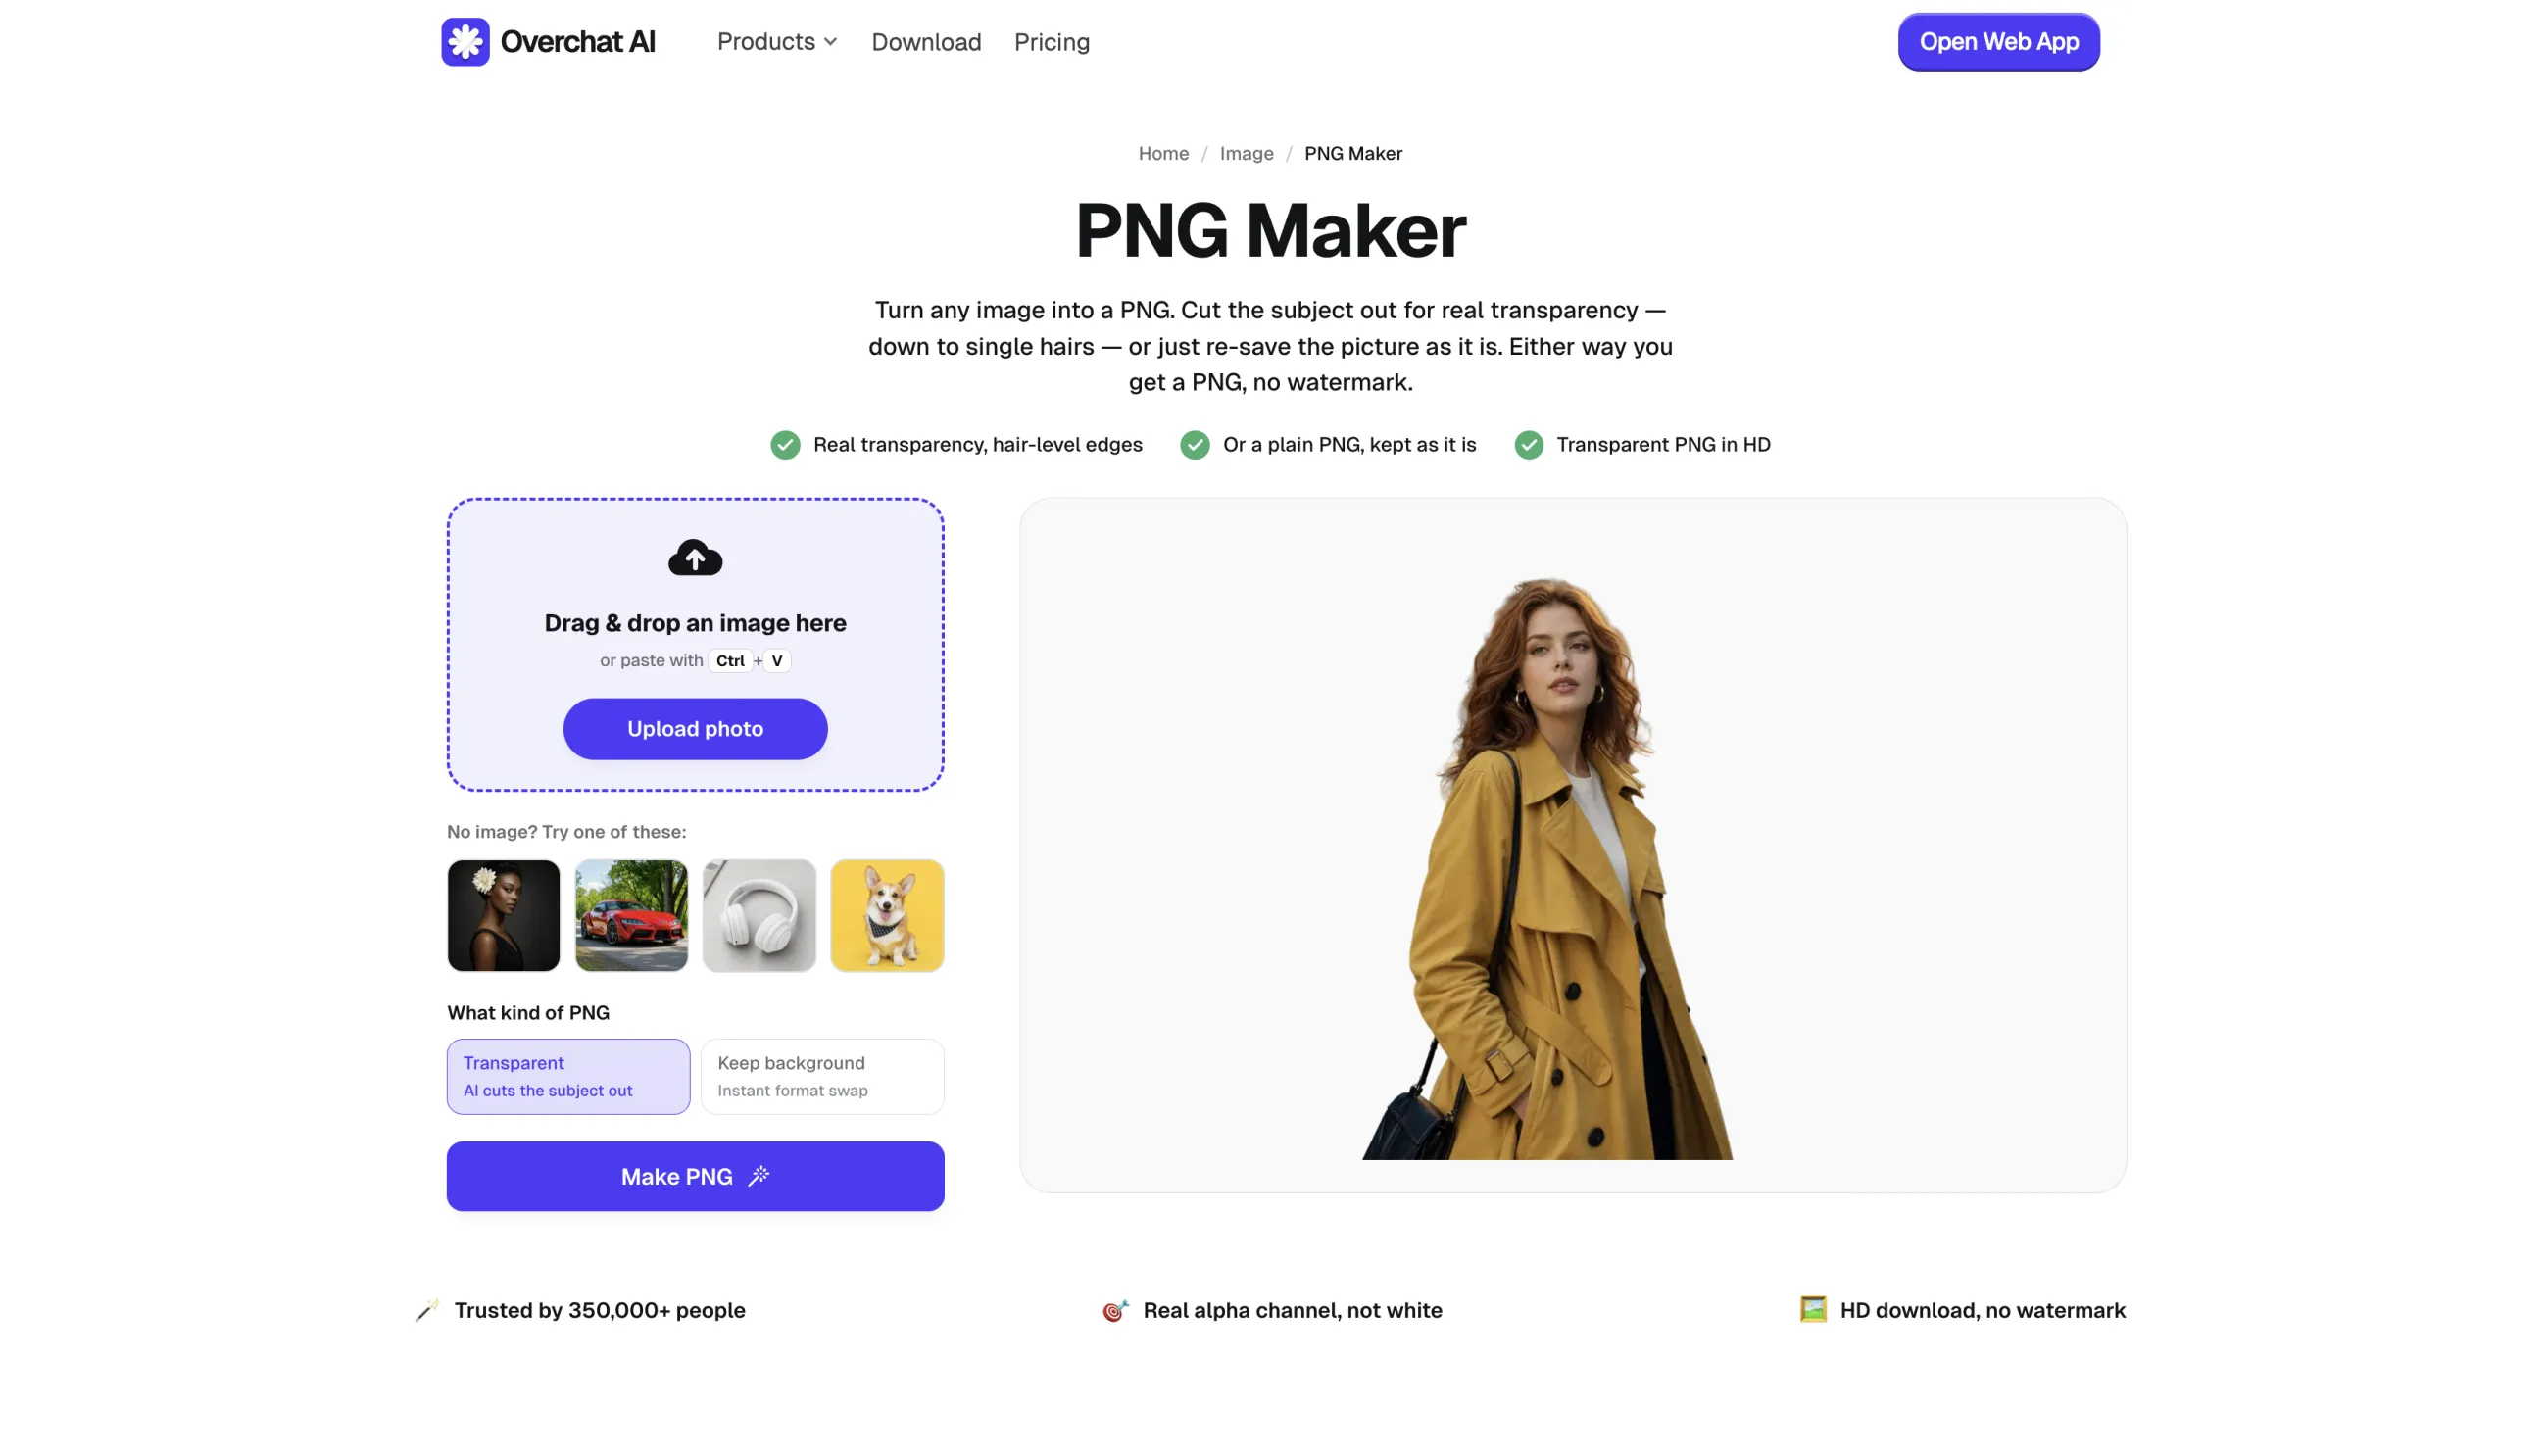
The Overchat AI PNG Maker page with the upload panel and preview area
2. Upload the logo
Drag the file onto the dashed Drag & drop an image here area, paste it from the clipboard with Ctrl + V, or click Upload photo and pick the file.
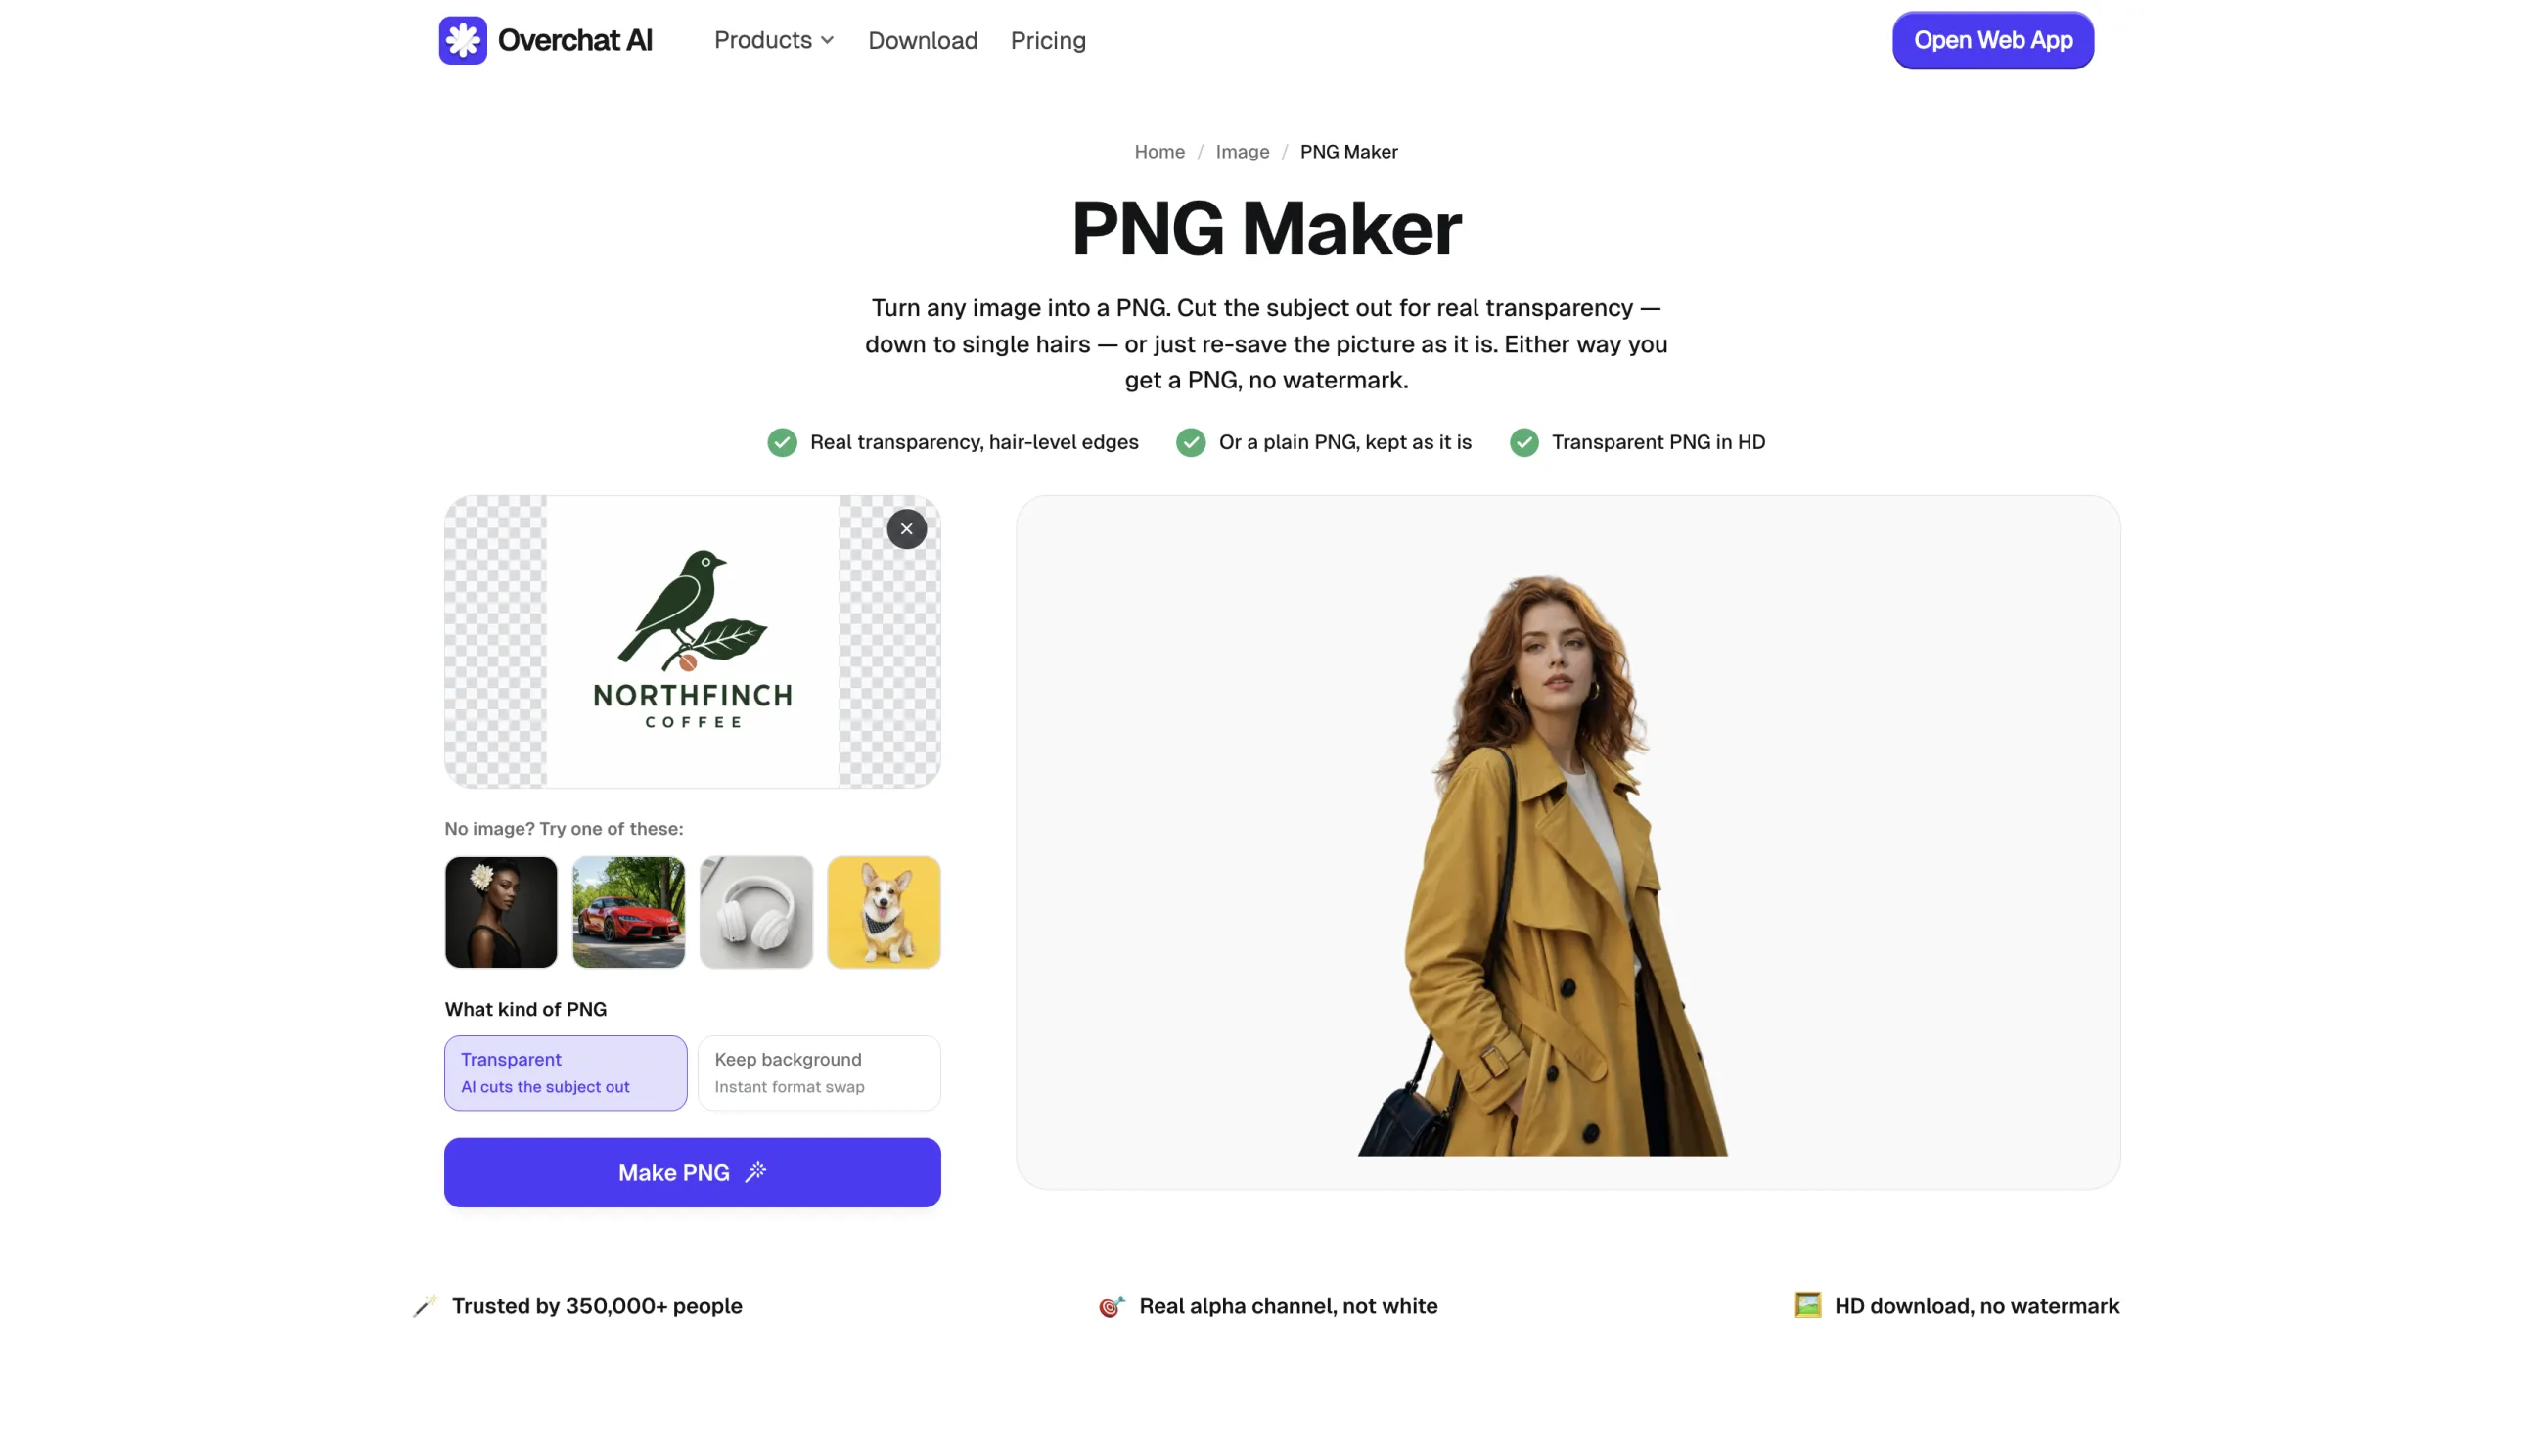
You'll see a thumbnail appear:
A coffee-brand logo uploaded to PNG Maker, still on its white background
If you only want to see how the tool behaves before committing your own artwork, the No image? Try one of these: row offers four sample photos.
3. Choose Transparent
Under What kind of PNG there are two modes:
Transparent — AI cuts the subject out. The background pixels are removed and stored as transparency.
Keep background — Instant format swap. The picture is re-saved as a PNG with every pixel intact, including the background.
Pick Transparent.
4. Run it and inspect the preview
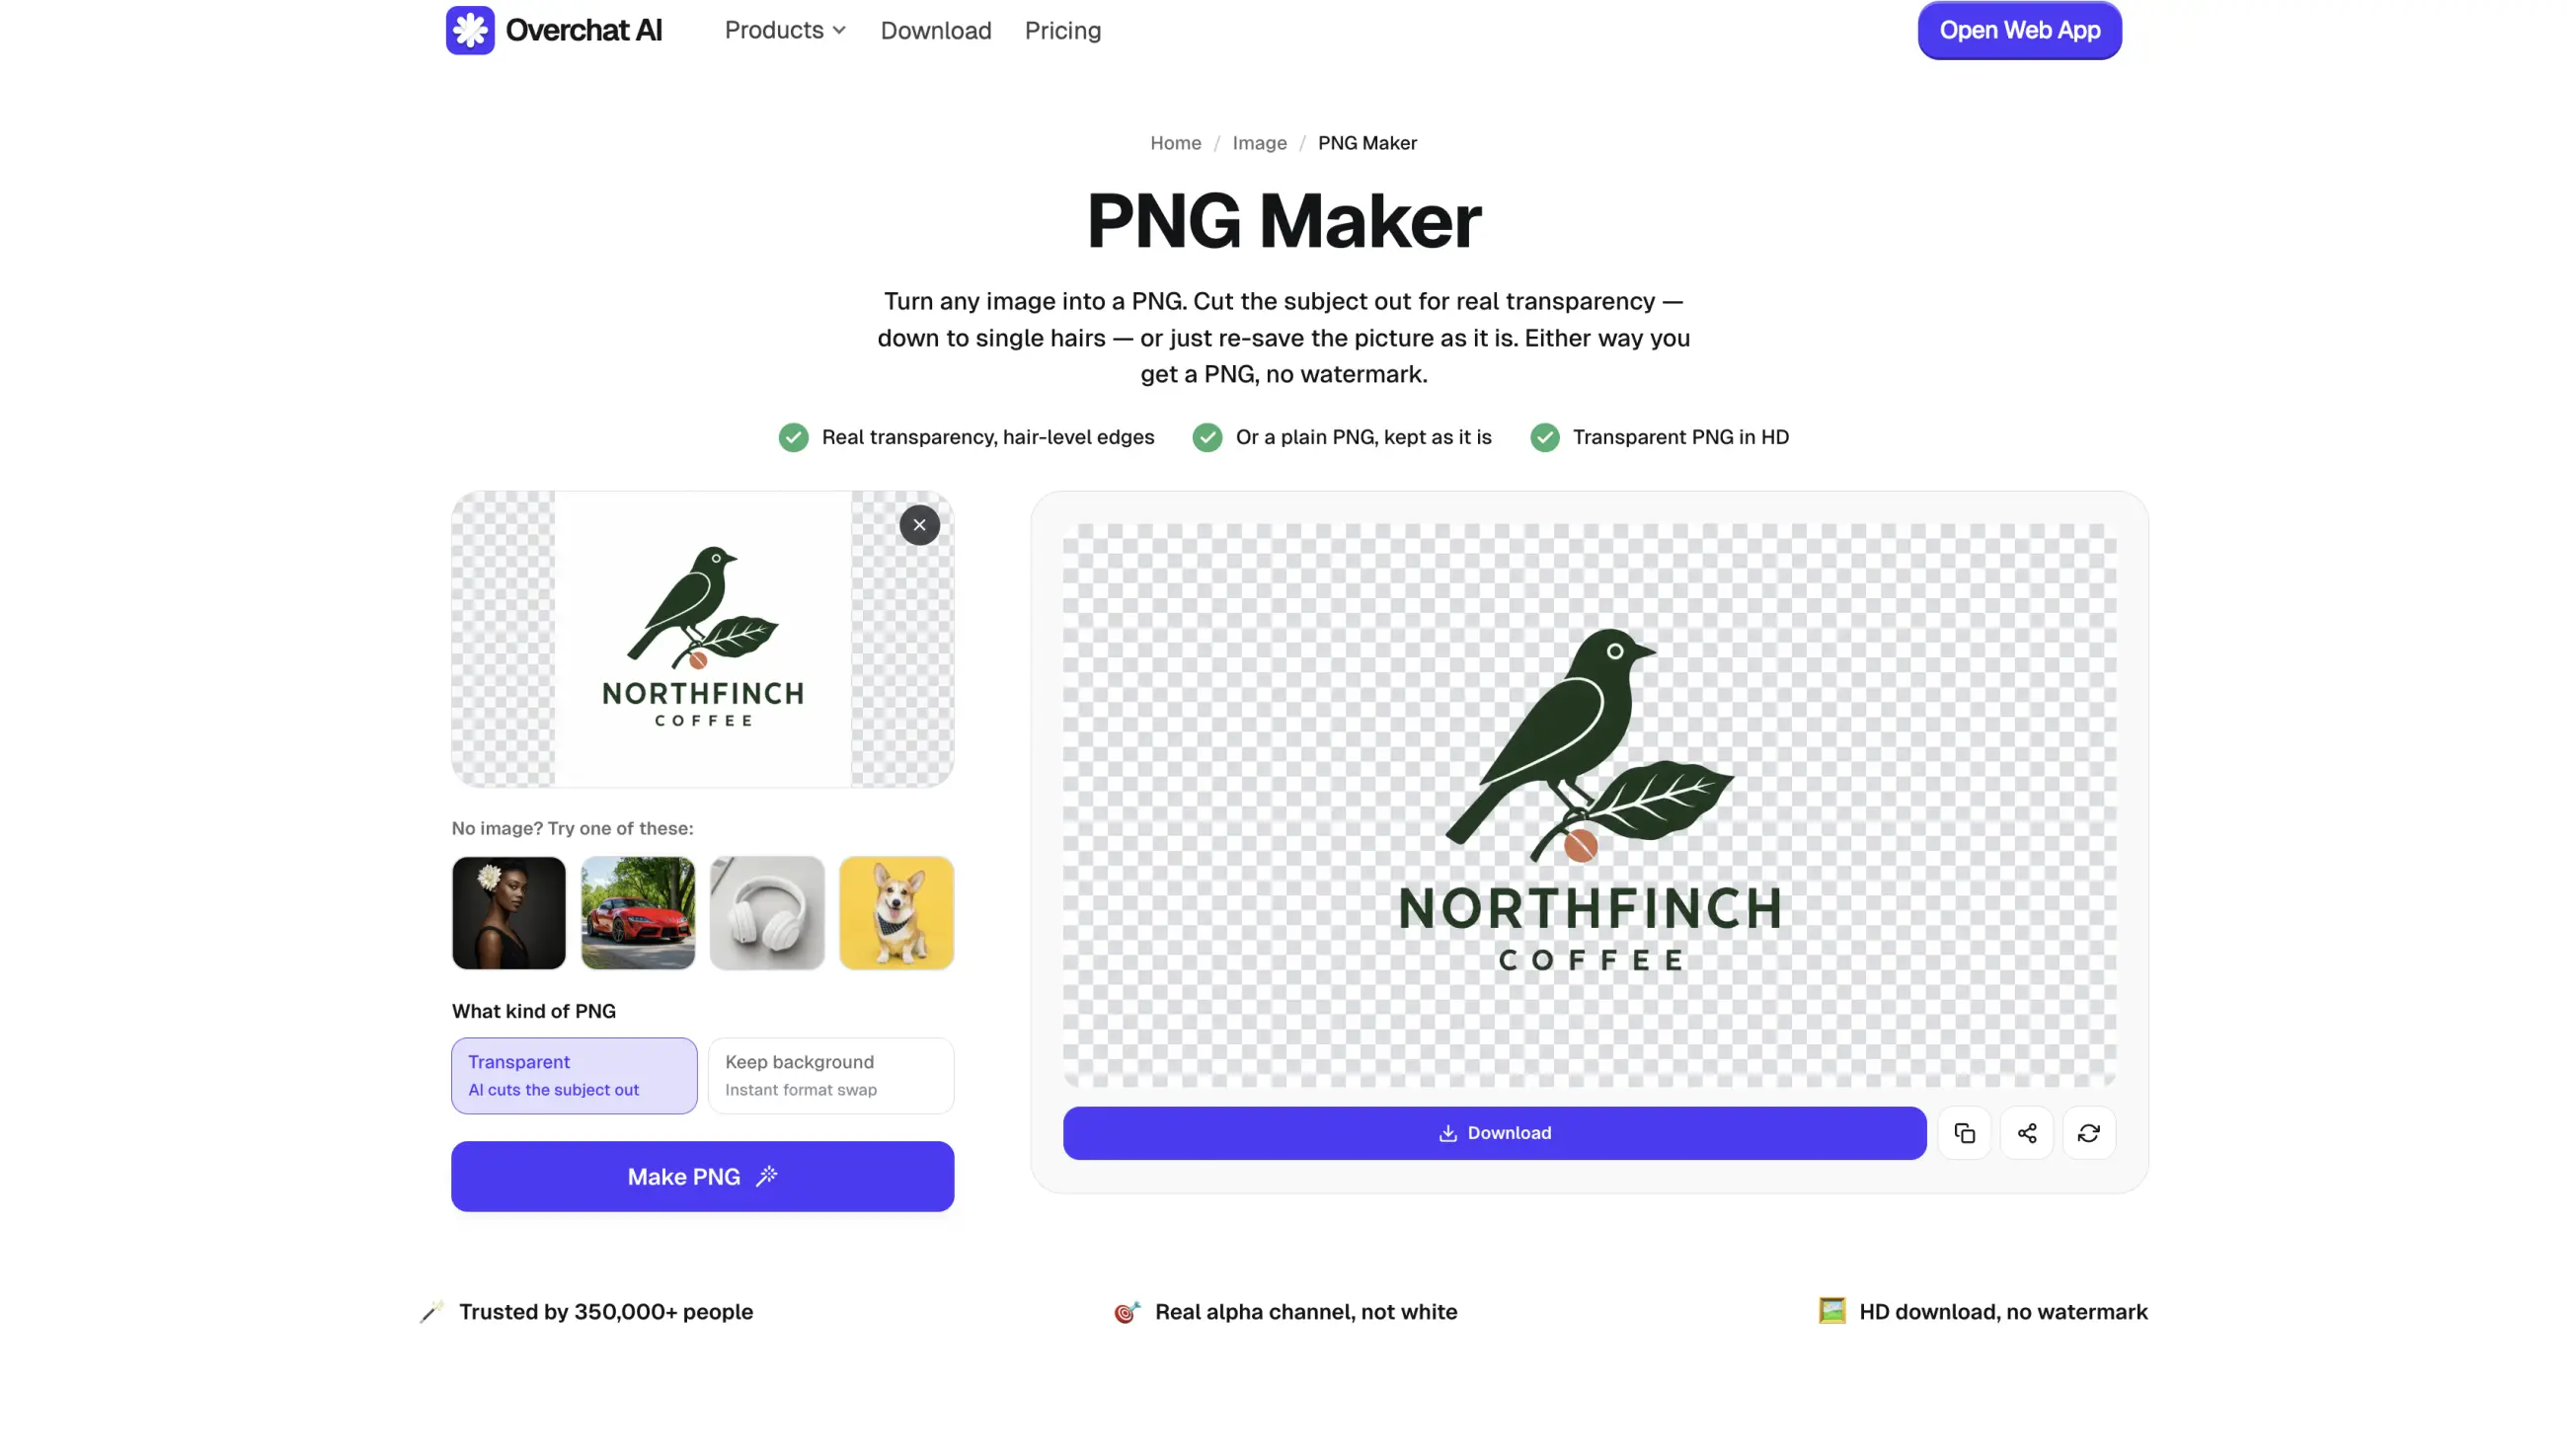
Click Make PNG. After a few seconds, the result appears on the checkerboard preview:
The finished transparent logo shown on the checkerboard preview with a Download button
Use that large preview to check the details, such as the contours of the letters, areas around thin lines, or places where the tone of the logo and the tone of the background matched closely.
In this example, the parts worth zooming into are the counters inside the O, R, and C of the wordmark, the hairline veins in the leaf, the narrow gap between the bird and the branch, and the small coffee bean.
If something is missing or the edge looks chewed, re-run the job from a larger source file rather than accepting the result and fixing it later.
5. Download the PNG
Click Download to save the file. You can also copy the file to clipboard using the Copy button next to it, share it, or re-run the cutout if you want a second attempt.
How to prepare the logo for background removal
For the cleanest background removal from a logo:
Use the highest-resolution version you have. PNG is preferable.
Make sure the logo edges are sharp and clearly separated from the background.
Use a solid, contrasting background whenever possible. For example, place a white logo on black rather than light gray.
Avoid shadows, glow, reflections, textures, gradients, and transparency around the logo unless they are intentionally part of the design.
Leave a little empty space around all sides so no part of the logo touches the image boundary.
If the logo includes very thin lines or tiny text, enlarge it before removal. These details are easiest to lose.
For white or very pale logos, don't put them on a white background. Likewise, avoid putting dark logos on nearly black backgrounds.
If you have the original SVG, AI, EPS, or PDF vector file, use that instead—there may be no need for background removal at all.
What is transparency in PNG?
In a PNG, transparency is handled by an alpha channel. Alongside the red, green, and blue color information, each pixel can store an opacity value. An alpha value of zero is fully transparent, and the maximum value is fully opaque. Intermediate values create partial transparency. Read the PNG specification to learn more.
When an AI background removal tool processes a logo, it identifies parts of the image that make up the background and swaps those pixels for values that include transparency. In visual editors that usually shows up as the gray-and-white checkerboard, or sometimes a dark gray background, if you're on a Mac.
Common transparent-logo problems and how to fix them
Most transparency issues come down to a handful of recurring causes. Here's how to spot each one and what to do about it.
The white box is still there
If you can see a rectangular white background, the image is not actually transparent.
A PNG file can contain transparency, but simply converting a JPG to PNG does not remove the white pixels.
Check it: open the logo over a dark background or a checkerboard transparency grid. If the rectangle is still visible, go back to the original image and remove the background again.
Export directly as PNG with transparency enabled. Do not use a screenshot, and avoid copying the image through apps that flatten it onto white.
There is a white or colored outline around the logo
This is usually leftover color from the old background.
For example, the edge of a black logo on white is not made entirely of solid black pixels. Anti-aliasing creates gray edge pixels so the logo looks smooth. Remove the white background badly and those gray pixels remain, creating a pale halo on dark backgrounds.
Check it: place the logo on black, white, and a bright color. A fringe that is invisible on one background can be obvious on another.
Start from the largest source available. Use the background-removal tool's edge or decontamination controls only enough to remove the fringe, then inspect small text and thin lines to make sure they have not been damaged.
If the logo includes a glow or shadow baked into the image, remove it if possible and recreate the effect in the final design instead.
Thin letters or details have disappeared
The remover has mistaken part of the logo for background.
This happens most often with thin type, fine lines, low-resolution logos, and artwork that is close in color to the background.
Check it: compare the transparent version side by side with the original at 200–400% zoom. Look at small lettering, punctuation, narrow strokes, and corners.
If details are missing, use a larger source rather than trying to repair the cutout. If you have control over the source image, put the logo against a strongly contrasting solid color before removing the background.
For a real brand logo, use the original SVG, EPS, PDF, or AI file if one exists. That is much safer than cutting a logo out of a raster image.
The holes inside letters are still filled
The remover has deleted the background around the wordmark but missed the enclosed spaces inside letters.
Common problem areas include a, b, d, e, o, p, q, and R.
Check it: place the logo on a strongly contrasting background and zoom in. The centers of those letters should show the new background through them.
Remove any missed areas manually before exporting.
The logo became blurry
Background removal cannot create detail that was not in the original file.
If the source logo is only 300 pixels wide, removing its background will still leave you with roughly 300 pixels of useful image information.
Do not keep enlarging and sharpening it. Sharpening can make edges look harsher, but it cannot reconstruct the original letterforms or curves.
For a website, find a larger raster source. For print, packaging, signage, embroidery, or anything that needs to scale, get the vector artwork.
Transparency disappears after saving or uploading
First, check the file format.
JPEG does not support transparency. PNG does.
If the PNG is transparent on your computer but becomes white or black after upload, the website or app is probably flattening or converting the image.
Check it: download the uploaded file again and open it over a colored background. If transparency is gone, the platform changed the image.
Keep the original transparent PNG and upload it directly rather than passing it through messaging apps, screenshots, document editors, or other software that may flatten it.
If you have a vector master such as SVG, keep that as the source file and create PNG exports from it when needed.
PNG vs SVG vs WebP
All of these file formats support transparency and have their own pros and cons.
Format
Transparency
Scaling
Best use
PNG
Full alpha transparency
Becomes soft or pixelated when enlarged beyond its original dimensions
Presentations, documents, email signatures, social media, and general sharing
SVG
Supports transparency and opacity
Stays sharp at any size
Websites, apps, design systems, icons, signage, and other uses that require scaling
WebP
Supports alpha transparency
Raster; still limited by pixel dimensions
Website assets where smaller file size is useful and WebP is supported
JPEG
No transparency
Raster; limited by pixel dimensions
Photographs or artwork that should have a solid background
PNG
PNG supports partial transparency, so curved edges, small text, and anti-aliased details can remain smooth. It is widely accepted by presentation software, document editors, website builders, design tools, and social platforms.
Use it when: you are sending a logo to a colleague, adding it to PowerPoint or Word, uploading it to a social profile, or working with software that may not handle SVG reliably.
SVG
SVG is a vector artwork. Unlike raster files that store the image information as a fixed grid of pixels, an SVG stores paths, shapes, fills, and other drawing information. That allows the image to stay perfectly sharp at any scale and zoom level.
Use it when: the logo needs to scale, appear on a website or app, work on high-density screens, or be reused across many sizes.
WebP
WebP is a compressed file format that allows you to reduce the image size by many factors, often going from over 5 MB to under 100 KB, while keeping transparency. As a lossy format, it reduces image quality depending on the amount of compression used. Especially for simple flat-color logos, the difference from an optimized PNG may be very small, especially at normal viewing distances.
Use it when: the logo is being delivered through a website and your publishing system supports WebP reliably.
Frequently asked questions
Common questions about transparent logos, file formats, and background removal.
Can a JPG logo have a transparent background?
No. JPEG does not support transparency. You can start with a JPG, remove its background, and export the result as PNG or WebP. If you need a vector file, the logo must be recreated or properly vectorized.
Simply renaming a .jpg file or changing its extension will not make it transparent.
Does converting JPG to PNG remove the white background?
No — converting JPG to PNG changes the file format, not the image content. If the JPG contains a white rectangle behind the logo, that white rectangle will still be there after conversion.
You need to remove the background first, then export the result as a transparent PNG.
Can I make a logo transparent without the original design file?
Usually, yes. A clean, high-resolution JPG or PNG is often enough when the logo has strong contrast and a simple background.
Results become less reliable when the logo contains:
very small text
thin lines
soft shadows or glows
gradients
colors similar to the background
fine detail around the edges
For those cases, the original vector file is much safer.
How can I tell if a PNG is actually transparent?
Do not judge it against a white page.
Place the PNG over a dark color, a bright color, or both. You should be able to see the new background around the outside of the logo and through any open areas inside it.
A checkerboard background in an image editor also indicates transparency, but test the final exported file rather than relying only on the editing preview.
This matters because some apps preserve transparency while editing but flatten the image when it is copied, exported, or uploaded.
Why does my transparent logo have a white outline?
The outline is usually leftover color from the original background.
Smooth logo edges contain partially transparent or blended pixels. If the logo originally sat on white, some edge pixels may contain white. After the main background is removed, those pixels can show up as a pale fringe on dark colors.
Test the logo on black or another dark background. If you can see a halo, return to the highest-resolution source and clean the edge gently.
Avoid heavy edge removal. It can fix the halo while also thinning letters, rounding corners, or deleting narrow strokes.
Why did the background remover erase part of my white logo?
The tool could not reliably distinguish the logo from the background.
This often happens with white artwork on white or very light backgrounds, or when compression has blurred the boundary between the two.
If you have access to the original layered or vector artwork, use that instead.
If not, place the white logo on a solid contrasting color first, then remove that color. Afterward, check small lettering, thin lines, and the spaces inside letters before exporting.
Does removing the background reduce logo quality?
Not by itself.
Deleting background pixels does not lower the resolution of the pixels that remain.
Quality usually drops for other reasons, including:
starting with a small image
using a heavily compressed JPG
applying aggressive edge cleanup
enlarging the result after removal
allowing an app or website to resize the image automatically
exporting to a lossy format
If the result looks worse than the source, compare them at the same size. That makes it easier to tell whether the problem came from background removal or from resizing and compression.
Should a logo be PNG or SVG?
Use SVG as the master when you have genuine vector artwork. Use PNG when you need a transparent raster file that works almost everywhere.
SVG is better for websites, apps, design systems, signage, and anything that needs to scale without becoming blurry.
PNG is better for presentations, documents, email signatures, social graphics, and general sharing.
For a well-organized brand asset library, keep both: the original SVG for scaling and a large transparent PNG for compatibility.