
In this article you'll learn how to convert a low resolution image into high resolution. We'll look at multiple ways in which you can do this, and cover both AI powered HD converters and Photoshop.
In this article you'll learn how to convert a low resolution image into high resolution. We'll look at multiple ways in which you can do this, and cover both AI powered HD converters and Photoshop.
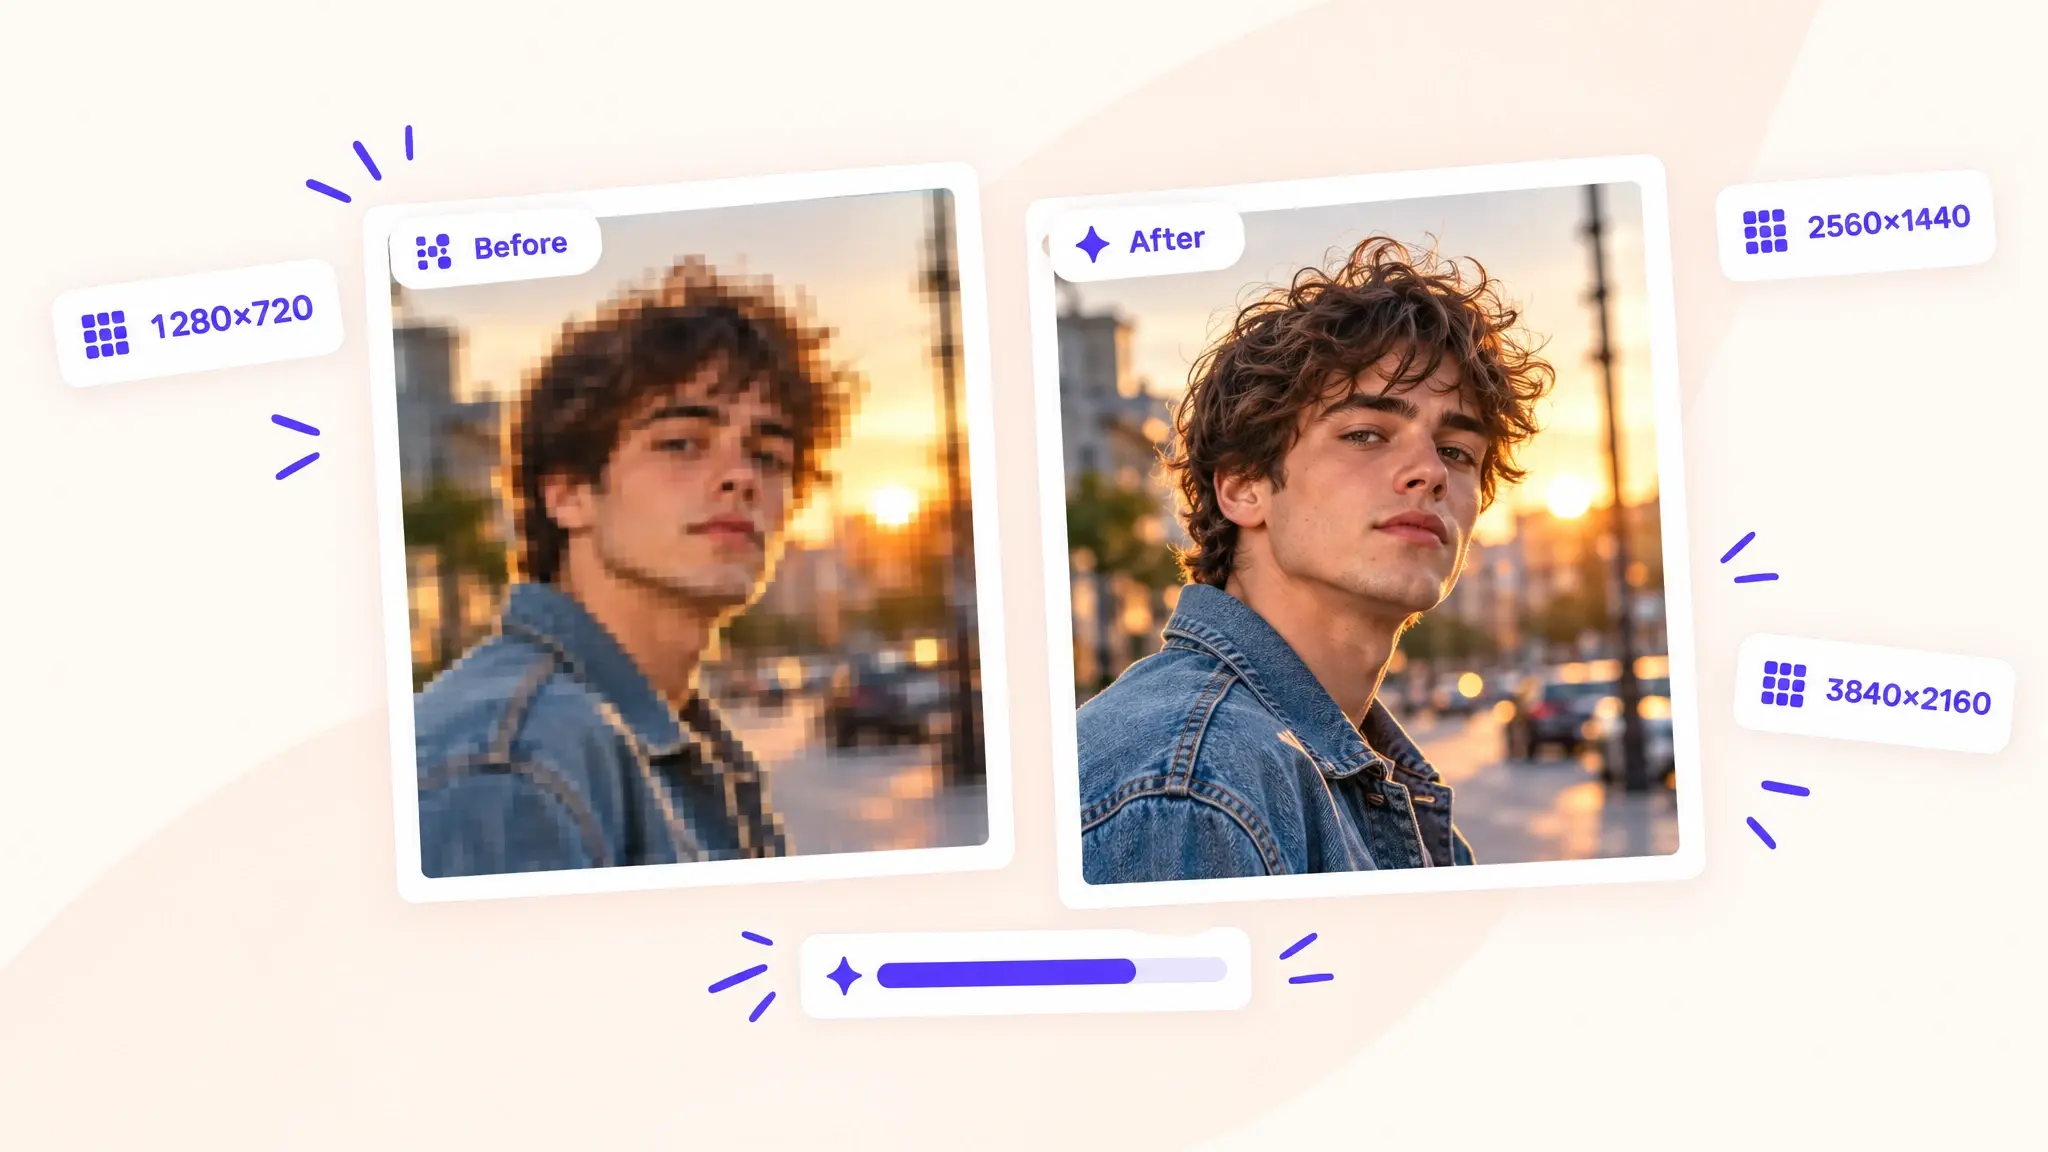
Before you begin, it's important to understand the current resolution of the image. You can check it in several ways:
Understanding the pixel dimensions can help you choose by how much you need to enlarge the image, for example, a 2x or 4x enlargement. If your image is 1,000 pixels wide and you need 2,000 pixels, you need a 2x enlargement. If you need 4,000 pixels, you need a 4x enlargement, and so on.
There are multiple ways to increase the resolution of an image, and we'll break down two below — the easiest way is to use an AI image upscaler. And if you want more manual control, Photoshop is one of the best alternatives. If you want to upscale an image without uploading it to the cloud, you can use Upscayl — a local upscaling software. Here's how to use each.
Use the Overchat AI HD Photo Converter when your source has visible blur, noise, or JPEG compression and you are comfortable with AI rebuilding missing texture. The tool runs in your browser and returns an image around 2K on the long edge.
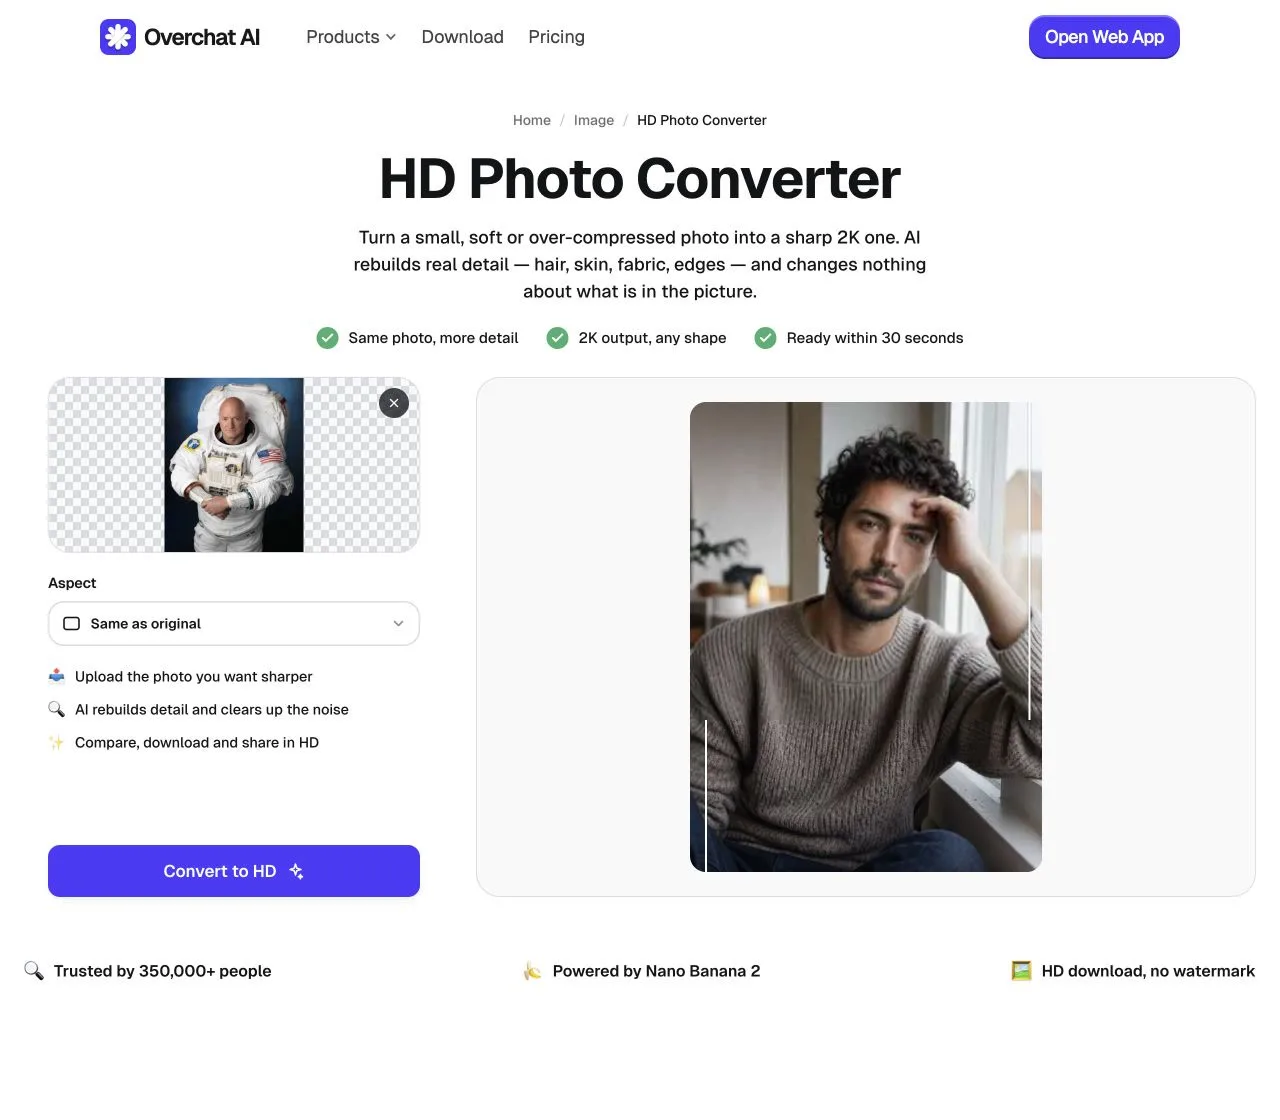
We uploaded a 640 × 800 JPEG. Overchat returned a 1844 × 2304 PNG, increasing the image from 0.51 to 4.25 megapixels.
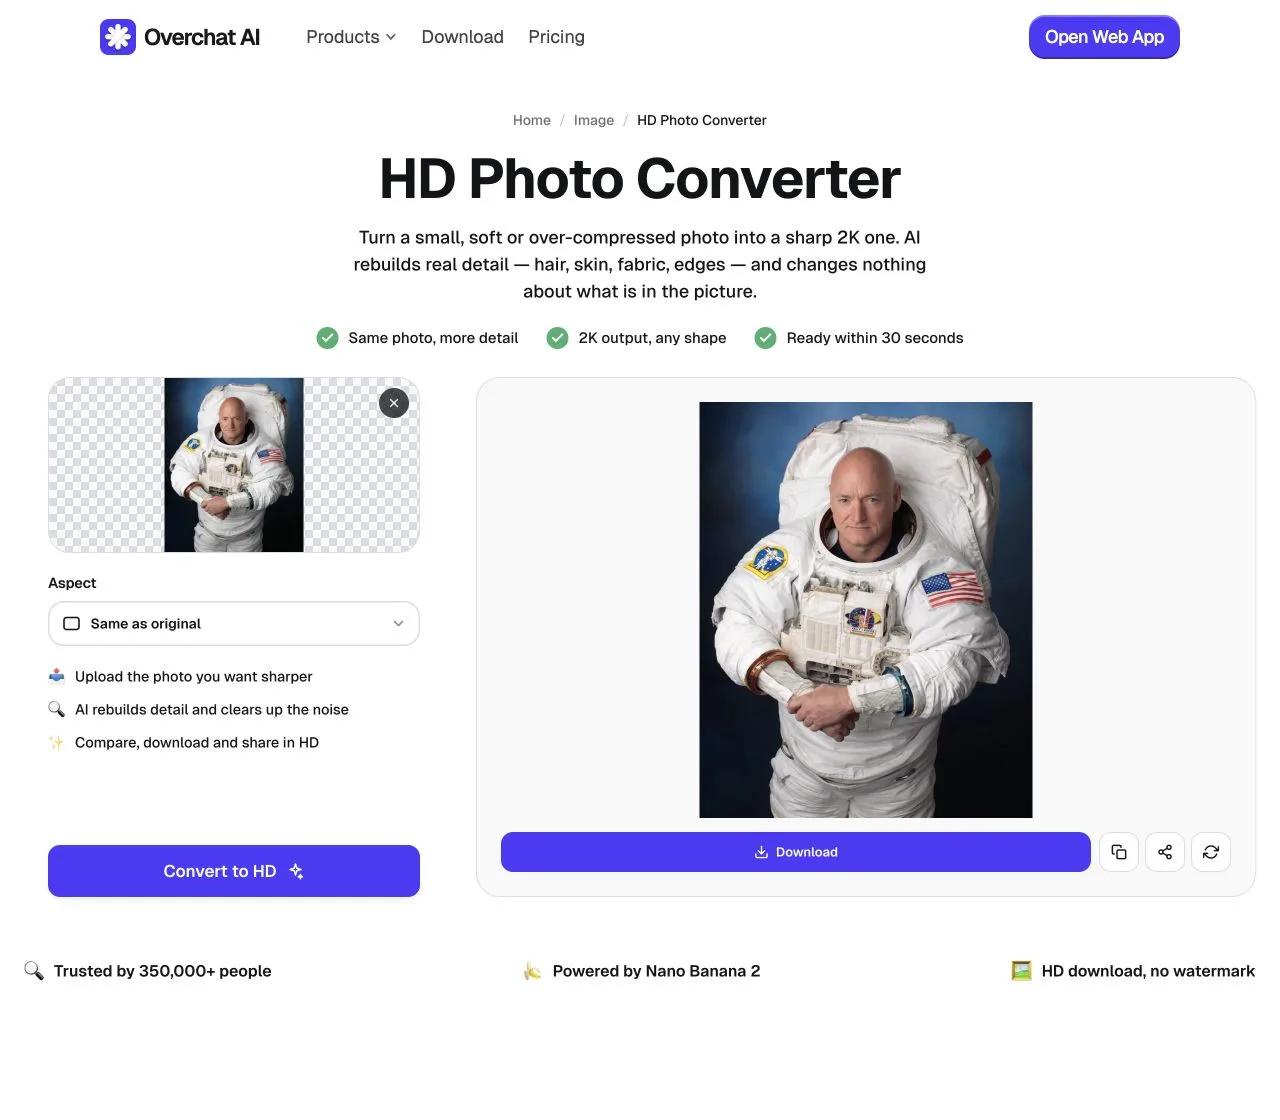
Here's the result:
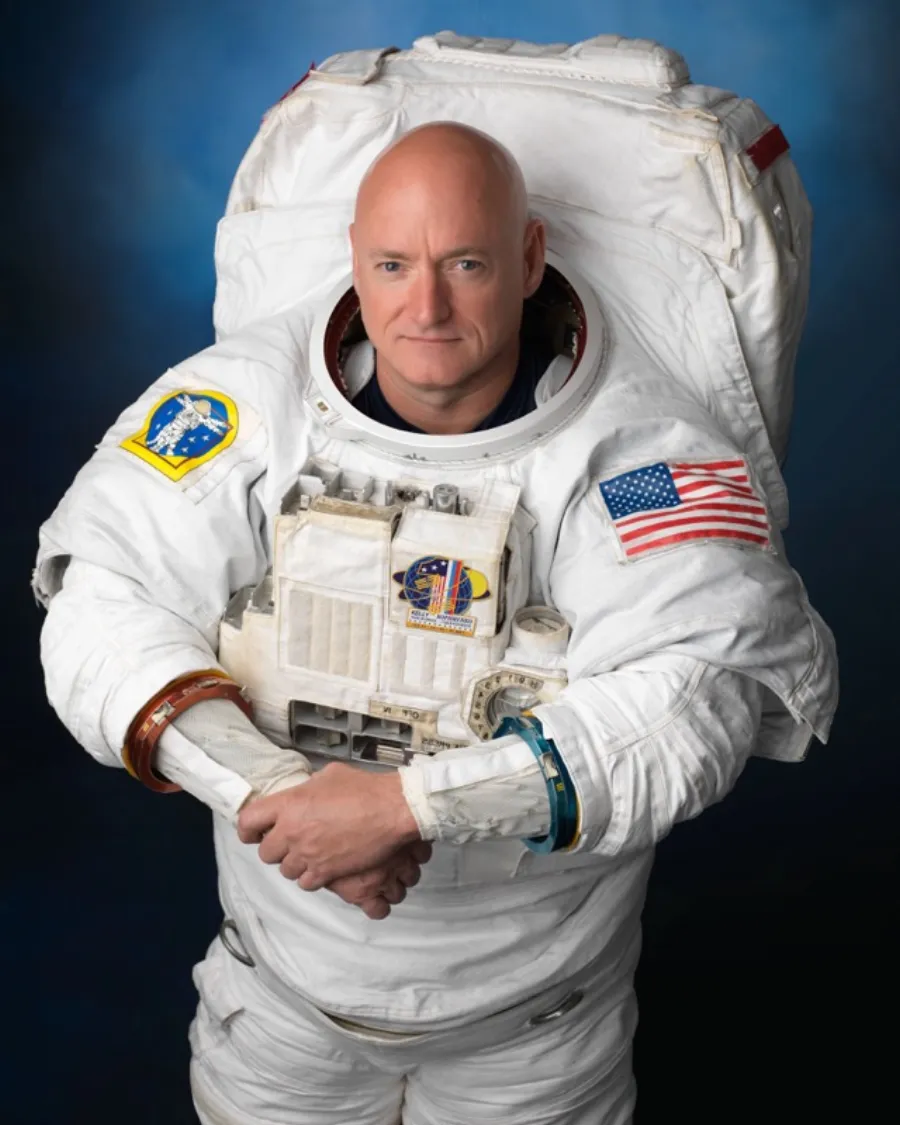
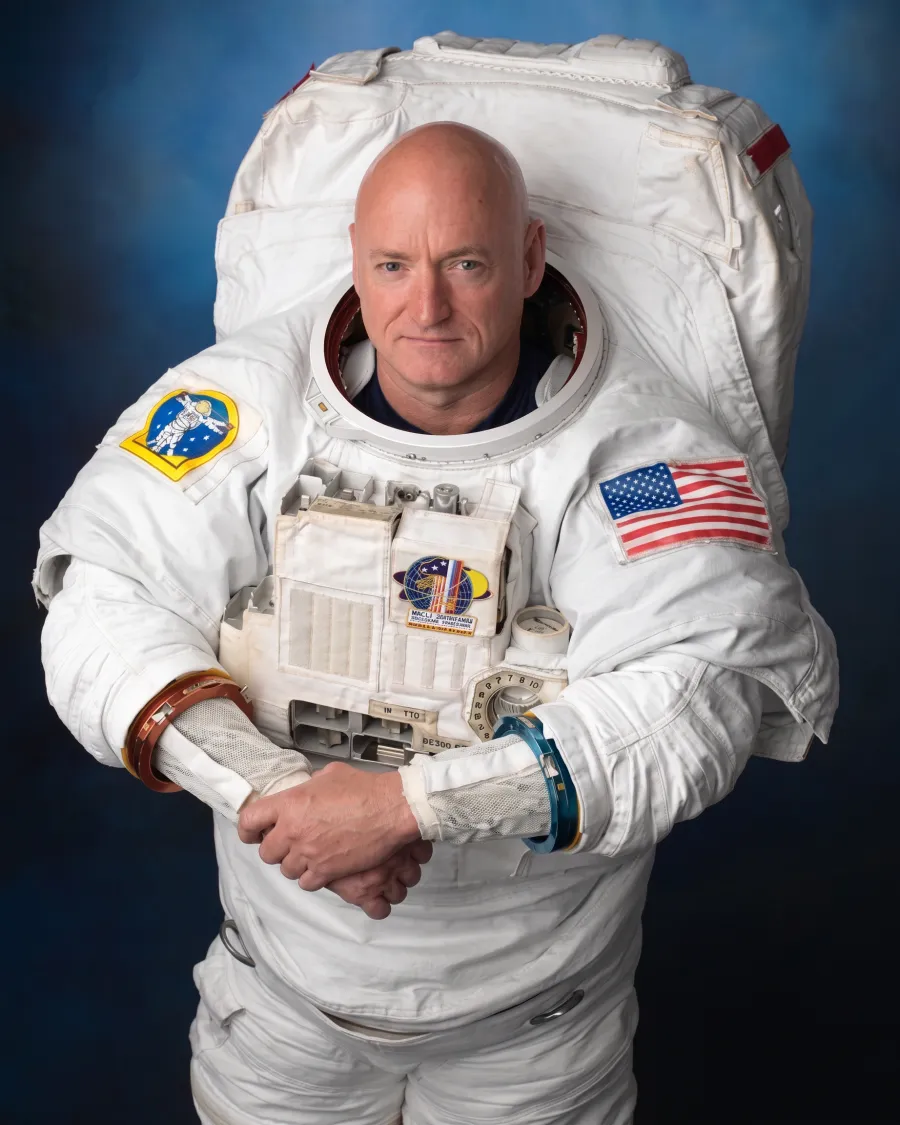
The 640 × 800 input and the 1844 × 2304 result. Image credit: NASA.
If you want to enlarge the image by a fixed scale instead of rebuilding it, use the AI Image Upscaler. You can also read the free image upscaler comparison to choose between browser tools and local software.
Photoshop gives you two ways to increase resolution. Image Size adds pixels through standard resampling and keeps the content unchanged. Generative Upscale can rebuild texture when the source is too soft for a normal resize.
Use this route for a straightforward enlargement of an image that is already sharp.
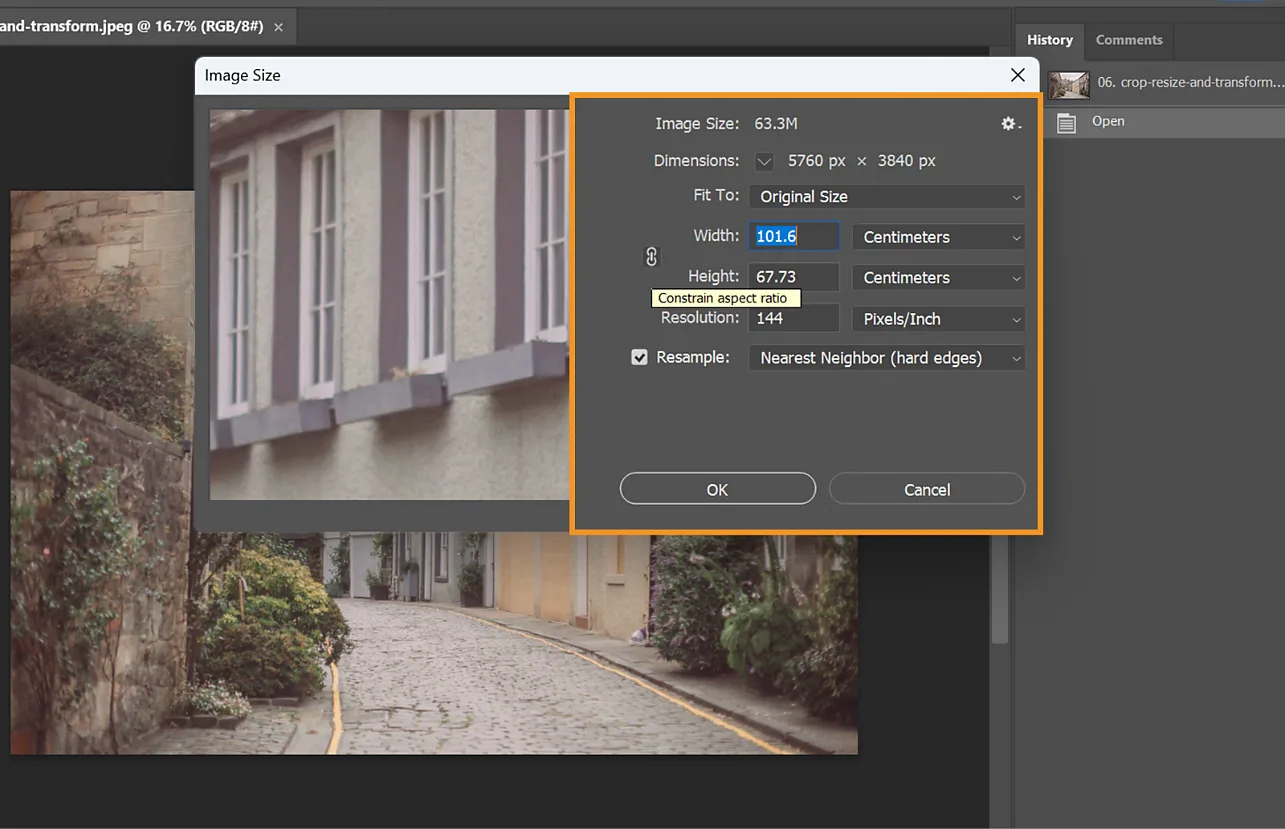
Use this method when the source already looks clear and you need a modest increase in size. Photoshop calculates the added pixels from the colors around them, so the content stays stable but edges may become softer. Adobe describes the process in its image resizing instructions.
Reach for this when a plain resize leaves the image too soft.
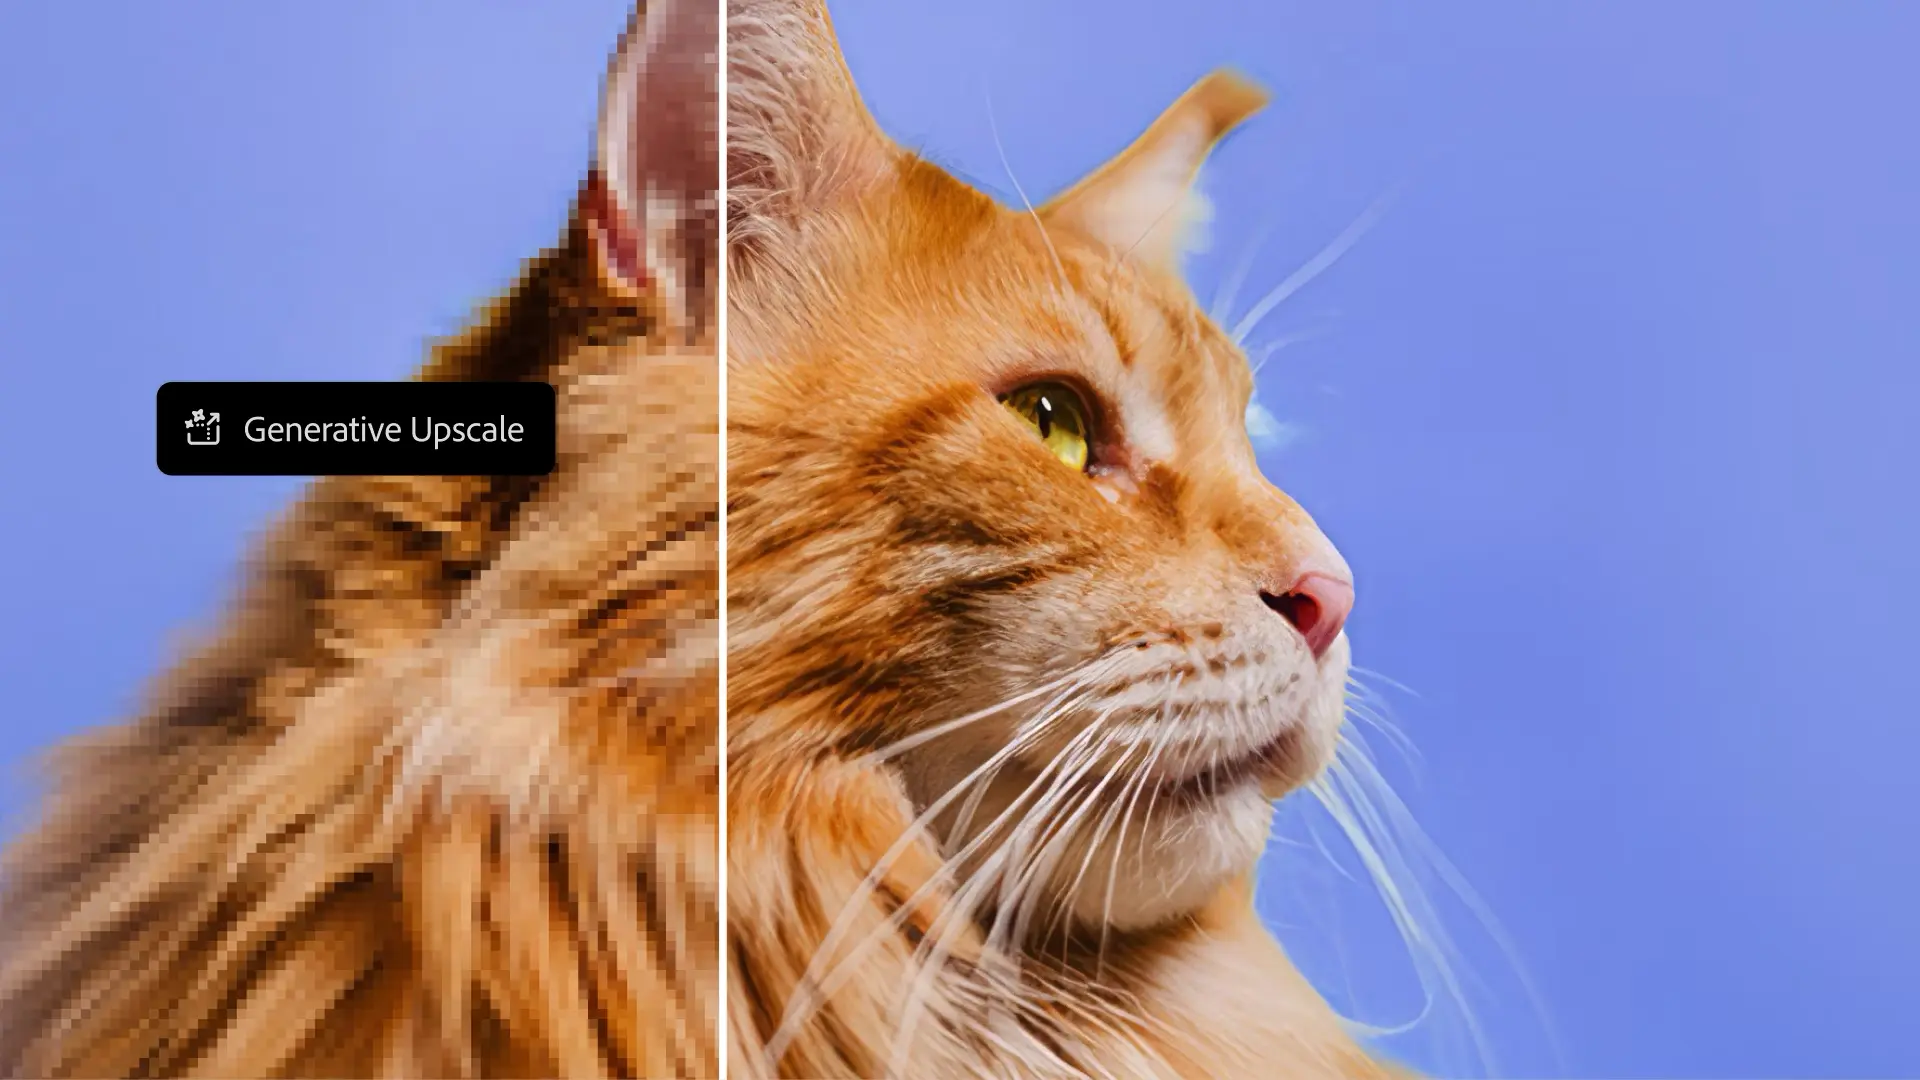
Choose the model according to the result you need. Adobe positions Firefly Upscaler for low-resolution images, Topaz Gigapixel for preserving visible detail, and Topaz Bloom for adding new creative detail. The available models and size limits depend on your subscription; Adobe lists the current options in its Generative Upscale guide.
Use Upscayl if you want to process images on your computer instead of uploading them to a website. The free, open-source application is available for Windows, macOS, and Linux. It requires a Vulkan-compatible GPU, and it does not work with many integrated GPUs.
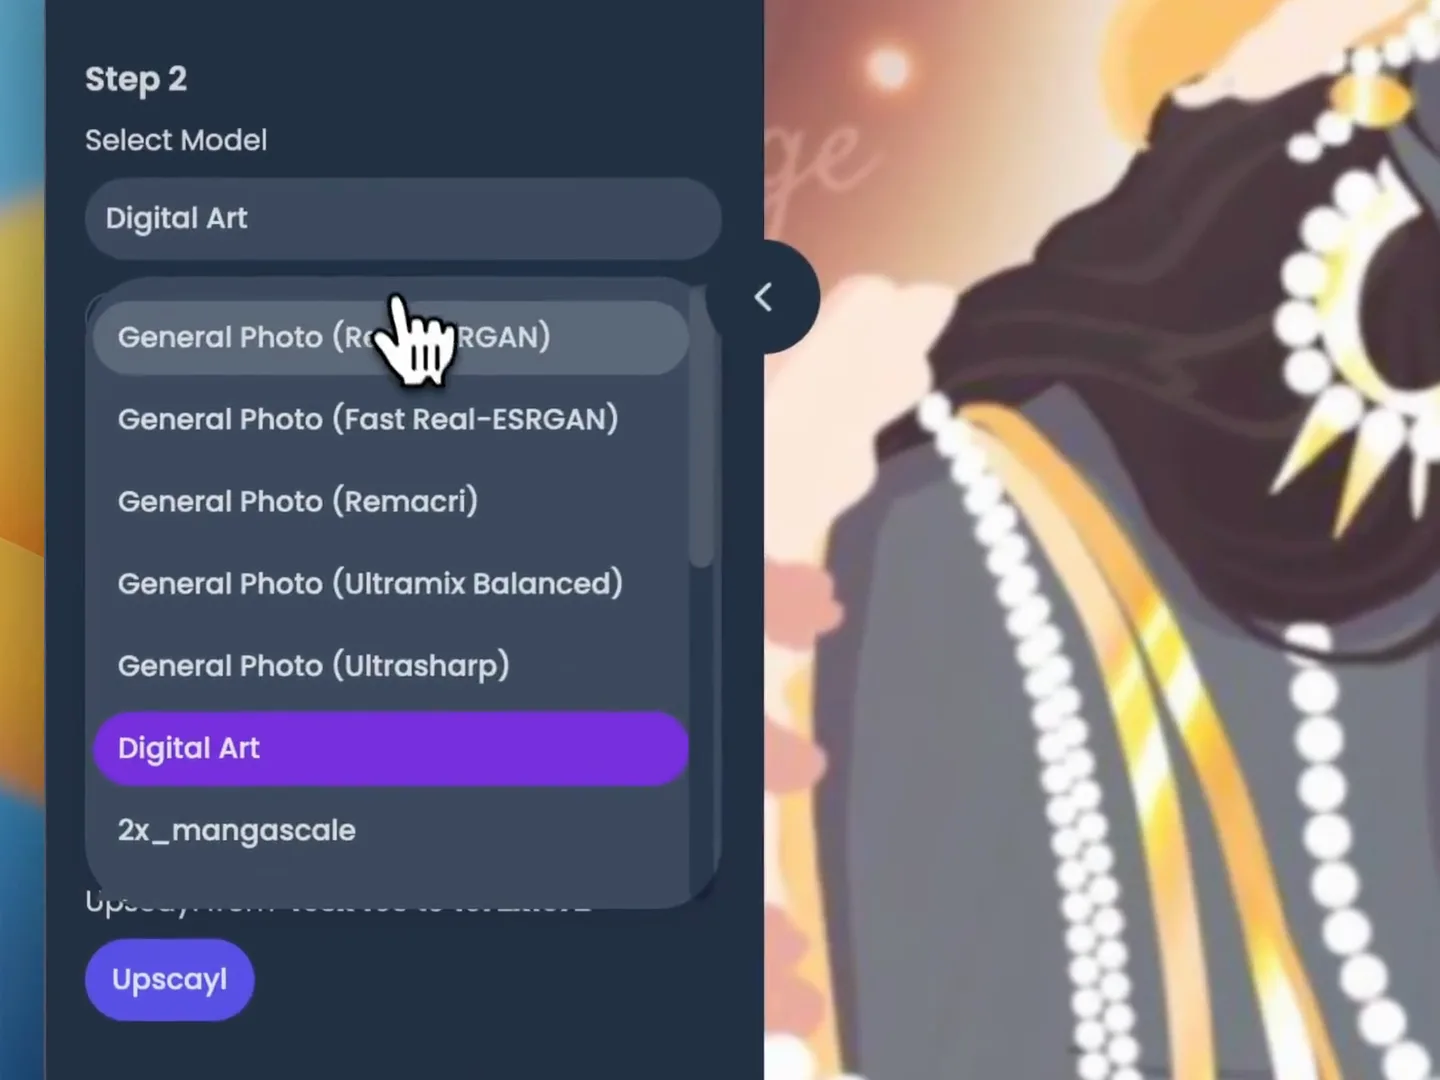
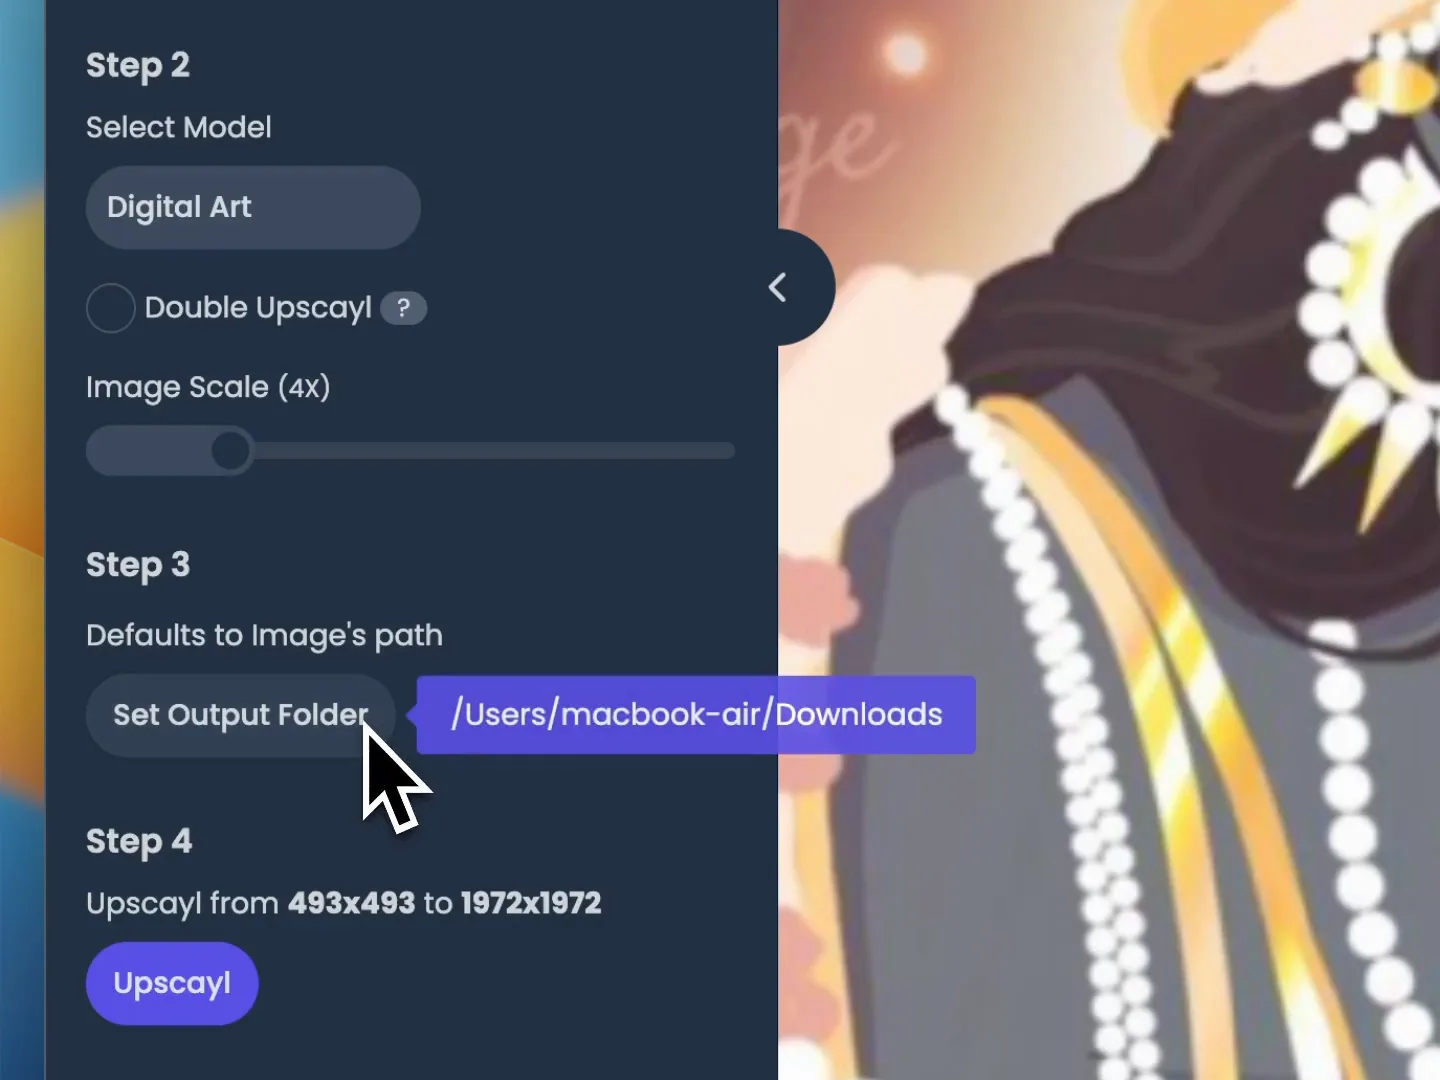
Upscayl follows the visible structure of the source more closely than a generative converter. Use it when the image is small or pixelated but the subject is still clear. However, Upscayl cannot correct severe defocus, so it will not recover a subject that is already unrecognizable.
Knowing what the labels actually mean in pixels makes it much easier to pick a target.
Terms such as HD, 2K, and 4K correspond to specific pixel dimensions. The table below shows the most common ones:
| Label | Common pixel dimensions | Approximate pixel count | Typical use |
|---|---|---|---|
| HD | 1280 × 720 | 0.9 MP | Small screens, web graphics, presentation images |
| Full HD / 1080p | 1920 × 1080 | 2.1 MP | Desktop display, video stills, large web images |
| 2K DCI | 2048 × 1080 | 2.2 MP | Digital cinema and images around 2,000 pixels wide |
| QHD / 1440p | 2560 × 1440 | 3.7 MP | High-resolution monitors, large digital graphics |
| 4K UHD | 3840 × 2160 | 8.3 MP | 4K displays, video frames, large digital output |
| 4K DCI | 4096 × 2160 | 8.8 MP | Digital cinema |
If you're upscaling for printing, you can use the table below to understand what resolution to target:
| Use | Practical target | Notes |
|---|---|---|
| Profile photo or avatar | 1000 × 1000 px | Square source with room around the face |
| Feed post | 1080 × 1350 px | Common 4:5 portrait format |
| Story or vertical cover | 1080 × 1920 px | 9:16 layout; keep text away from interface overlays |
| Website hero or wide thumbnail | 1920 × 1080 px | Compress the export for faster page loading |
| Marketplace product image | 2000 × 2000 px or platform requirement | Use a square canvas and inspect labels and product edges |
| 4 × 6 inch print at 300 PPI | 1200 × 1800 px | Suitable for close viewing |
| 8 × 10 inch print at 300 PPI | 2400 × 3000 px | Common portrait print size |
| A4 print at 300 PPI | about 2480 × 3508 px | Confirm bleed and crop requirements with the printer |
For prints viewed at close range, use 300 PPI unless your print shop gives you a different specification. Large posters can use a lower PPI because people view them from farther away.
To find the pixel dimensions for a print, multiply each side in inches by the target PPI:
print width in inches × PPI = required pixel width
For example, an 8-inch-wide print at 300 PPI needs 2,400 pixels across. If your source is 1,200 pixels wide, a 2x enlargement reaches the target. A 4x enlargement would produce 4,800 pixels across, which you do not need for that print.
When you enlarge a raster image, the existing pixels have to cover more space. A standard resize fills the gaps with colors calculated from nearby pixels. This makes the image larger, but it can also soften edges and make JPEG blocks easier to see.
An AI upscaler can add sharper edges and more texture. If the source shows hair as an indistinct brown area, the model may draw separate strands. If fabric has become blocky, it may create a plausible weave. These additions can make the photo look clearer, but they do not come from the original file.
Review the result at 100% zoom. Pay particular attention to faces, text, logos, jewelry, license plates, hands, and small objects. These are the areas where an upscaler is most likely to change a letter, expression, shape, or edge.
Upscaling can enlarge visible information and estimate missing detail. It cannot show you something that the source never recorded. For example, traditional upscaling won't work if:
However, you can regenerate the image with AI and create a new high resolution image with those details drawn in.
Technically, this is not the same as upscaling — you're generating an entirely new image even if it looks identical to the old one — but this way you can increase the resolution while at the same time adding missing details.
A few things that come up often when people start enlarging their photos.
Only if you enable resampling. If you change the PPI value by itself, the image keeps the same pixels and Photoshop changes the planned print size. To add pixels, enable Resample and enter new pixel dimensions.
Yes, for many small and medium prints. A 2048-pixel edge prints at about 6.8 inches at 300 PPI, 10.2 inches at 200 PPI, or 13.7 inches at 150 PPI. Choose the PPI from the print size and expected viewing distance.
No. The scale tells you the output size, not the quality. A 1000 × 750 image becomes 2000 × 1500 at 2x and 4000 × 3000 at 4x. Use the smallest scale that reaches your target dimensions.
An AI upscaler can preserve visible information and generate a plausible replacement for missing texture. It cannot know what the lost pixels originally contained. Keep your source file and treat the upscaled image as an edited copy.


